New Pololu A4988 Black Edition stepper drivers
I've been having problems with the X and Y axis on my MendelMax 1.5 reprap losing steps. After checking to make sure both axis has free motion, and double checking the power settings, I thought it might be caused by the cheap www.gadgets3d.com A4988 stepper drivers I was using. So, I ordered some genuine Pololu A4988 "Black Edition" drivers directly from www.pololu.com. These do require some minor soldering to attach standard header pins to the circuit board. The "Black Edition" drivers have a thicker copper layer in the PCB to better handle heat dissipation.
 |
| Parts as received from Pololu |
 |
| Stepper Driver & Header pins, ready for action |
 |
| Cutting Header pins in half with a small side cutter |
 |
| Header pins pressed into standard breadboard- will hold pins in alignment during soldering for easy insertion into RAMPS board. |
|
 |
| Applying flux to header pins. Note short end of the pins are soldered to board |
 |
| Applying flux to solder pads on board |
 |
| Ready for soldering |
 |
| Finished, soldered product |
I inserted the new boards into the X, Y, and Z axis. Problems.... The Z worked just fine, and stayed cool to the touch. However, the X and Y had issues- part of the way through some sample prints each axis simply stopped working period. I switched back to the original gadgets3d drivers until I can troubleshoot the problem. The new Pololu drivers do run much, much cooler than the gadgets3d drivers.
Vapor Polishing ABS printed objects
I saw online that some people have been experimenting with vapor polishing printed objects to produce a really nice surface finish.
This blog has a great step by step instructions on how to do it.
I decided to try this on some parts I printed for my Rep Rap.
 |
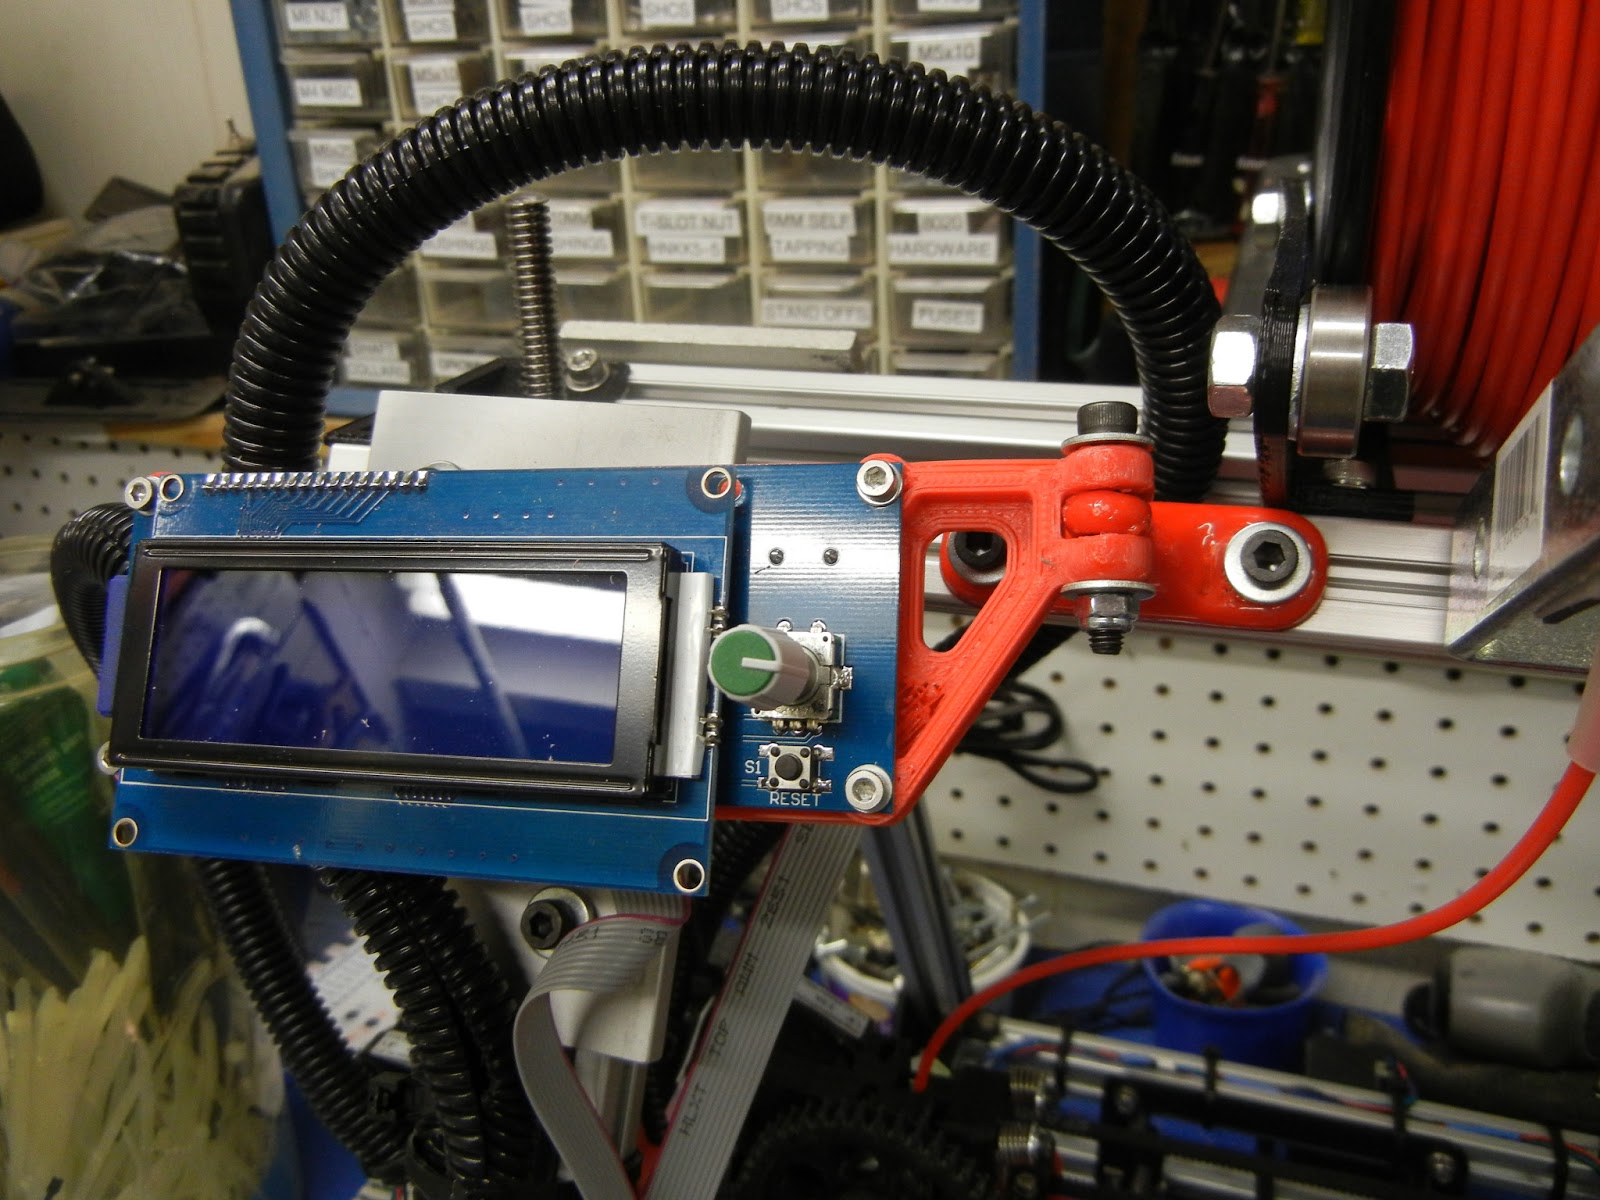
| LCD bracket, as printed @ 0.2mm layer height |
 |
| Vapor Polishing - 3mm of acetone in bottom of jar heated to 90 degrees C on hot plate. |
Once the vapor has formed to the height of your part, place your part in the jar on top of some sort of removable support. Be very careful with this- it can be a fire / explosion hazard and the acetone vapors are a health hazard. Leave it in as long as you want, you can visually see the part smoothing out. Remove the part, and let sit until cured.
 |
| Vapor condensate layer visible on glass. Part was left in beaker for about 15 minutes |
 |
| Finished, Polished par.t Be sure to allow the part to fully cure- all the acetone to evaporate out of the part. It may be possible to bake out the part at a low temperature to speed the process. The finished part has a glassy sheen. |
 |
| LCD screen mounted on MendelMax. I'll upload this to www.thingiverse.com when I have the design a bit more polished. |


No comments:
Post a Comment