
The motors I originally built the machine with were sourced from a industrial salvage yard, and didn't come with any sort of specifications other than they were a NEMA 17 case size and bipolar. (4 leads) I did see someone else's MendelMax with "store bought" steppers and I was shocked at how much longer the cases were and how fast he could get the X and Y axis to accelerate.
So, finally I decided to bite the bullet and purchase a pair of steppers from www.lulzbot.com. I've purchased other items from them in the past and they've always had good quality parts. I also bought a 0.35mm nozzle for the extruder as well. The 0.5mm I started with originally seemed "too big", and the 0.25mm I tried next was "too small". I was hoping the 0.35mm was "just right."
New Stepper motor specs:
- Step angle: 1.8°
- Holding torque: 55 N.cm
- Rated voltage: 2.8V
- 2 phase
- Resistance per phase: 2.8?,±10%
- Inductance per phase: 4.8?,±20%
- Operation temp range: -20°C ~ +50°C
- Wieght: 0.365Kg
- 4 AWG22 lead wires (ends are bare and need connectors)
- 5mm D-shaped motor shaft
 |
| Original motor on the left, new motor on the right |
The combination of the new X-Y steppers and 0.35mm nozzle has been great so far. No issues at all with step skipping- the nozzle just blasts through drips during traverses across the part during prints. The printed parts also seem to be more accurate and have cleaner details. I did slightly adjust the voltage going to the X and Y axis using the standard procedure without any trouble. Both Z-axis and the extruder stepper motor are still the original small steppers. I might upgrade the extruder stepper at some point in the future, as I've noticed it skipping steps occasionally. The Z-axis steppers work just fine though.
 |
| Swiffer replacement part |
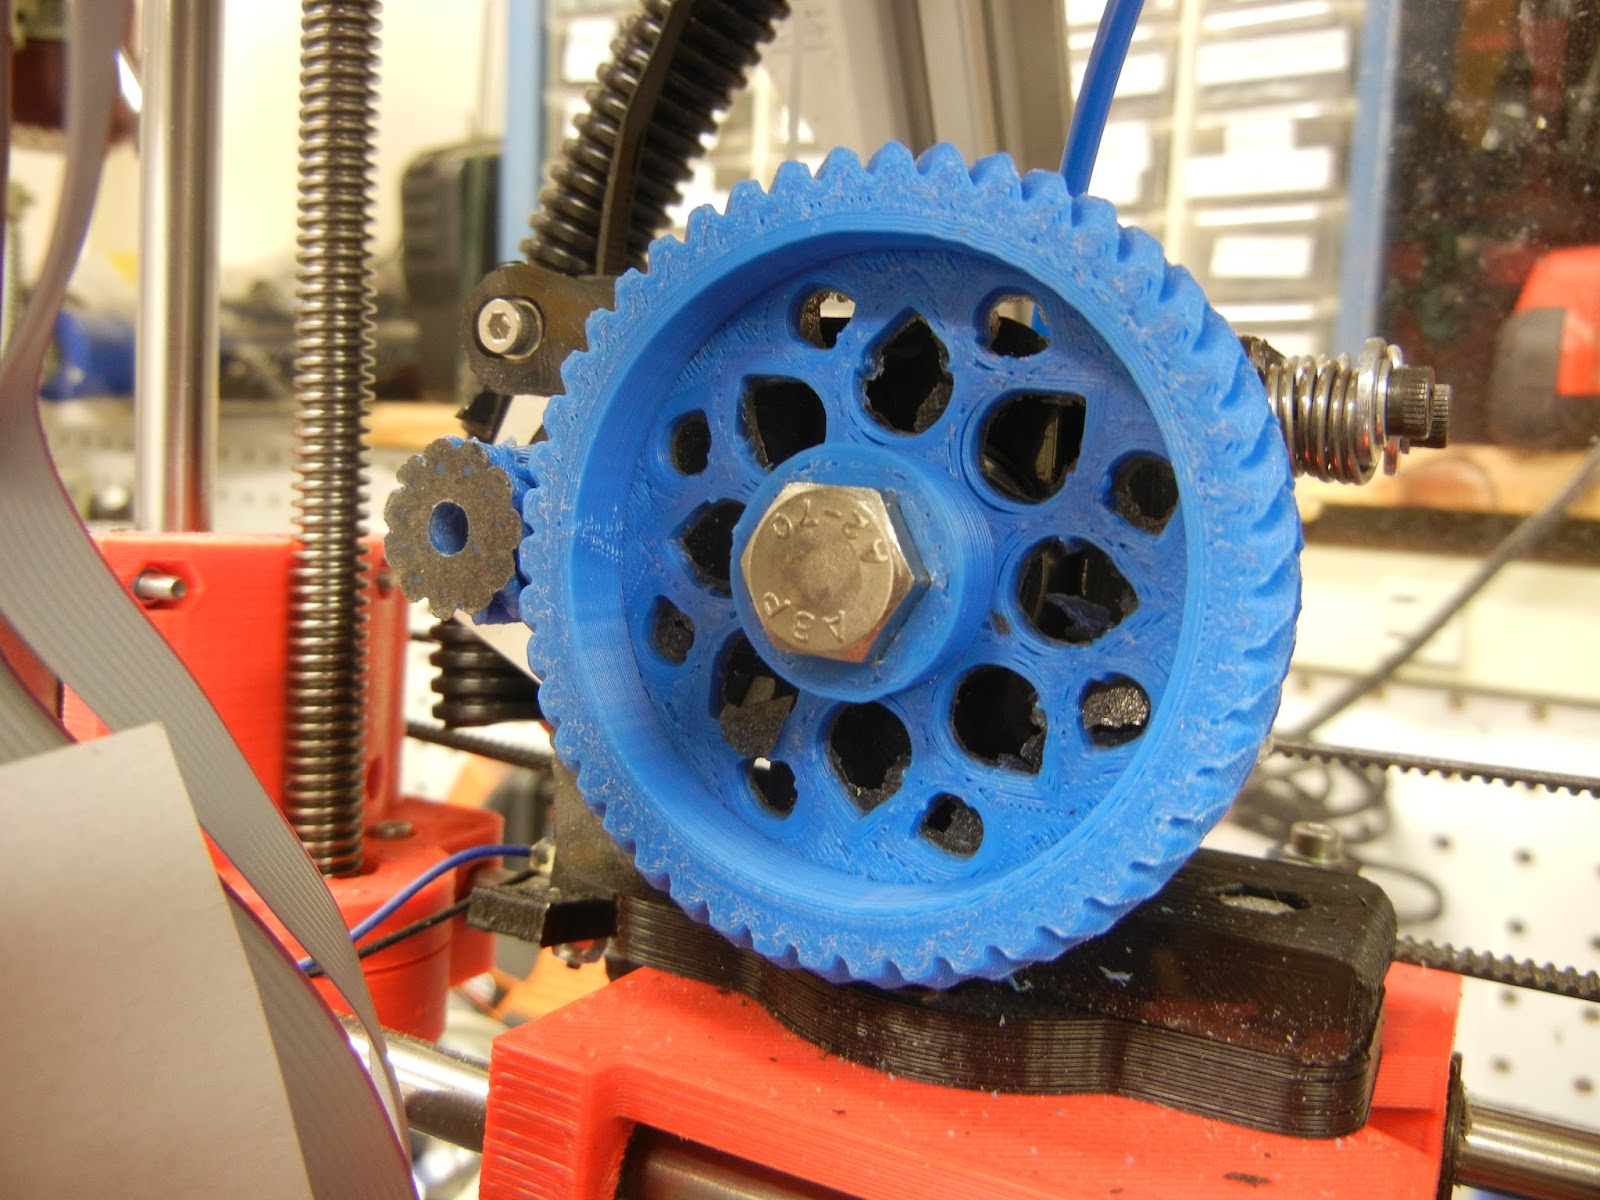 |
| New Herringbone Gears |
I'm considering upgrading the extruder to a belt drive unit and getting rid of the printed gears entirely. A belt drive would have zero backlash, and wouldn't wear out. The 00str00der on thingiverse looks interesting. The only problem is the belts and GT2 timing pulleys are tough to find, particularly at a reasonable price.
No comments:
Post a Comment