
Wire Cutter Modifications:
- Remove tension spring, only use eyebolts to add tension. This will allow a higher wire tension as well as increase the "throat" of the tool.
- Build a fixture to hold the workpiece to the work bench.
- Build a fixture to control the motion of the wire cutter
Wire Cutter Specs:
- 12v 3A power supply, no rheostat
- braided SS wire, approximately 0.014" diameter
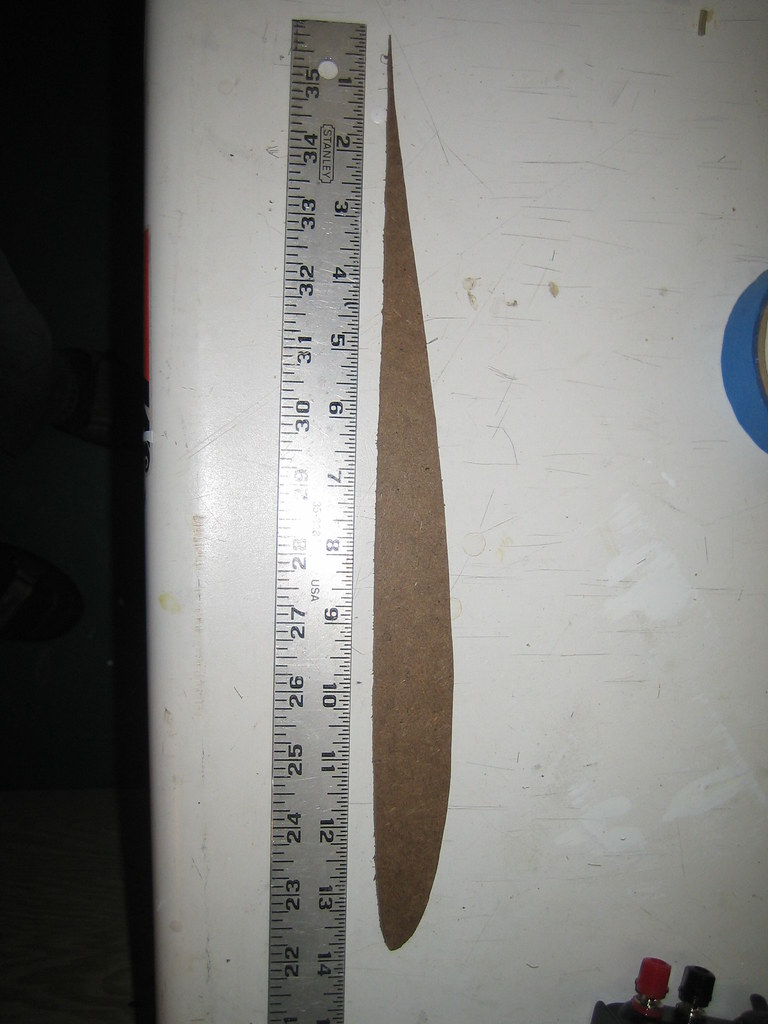
- 20.5" capacity
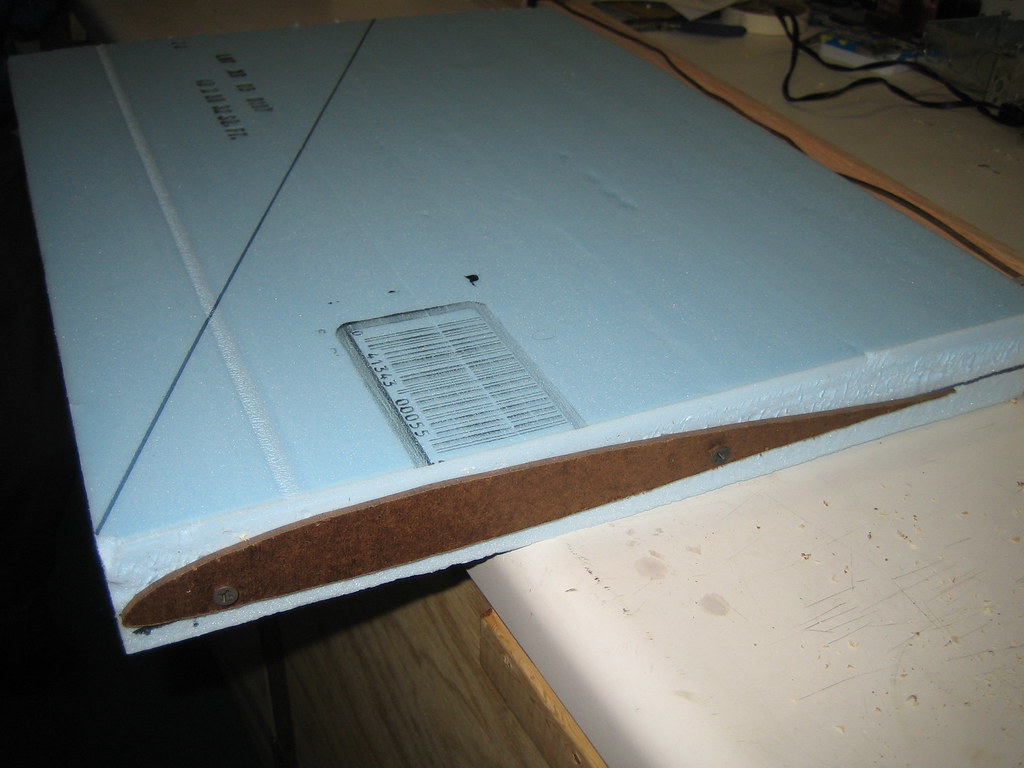
Form attached to foam, ready for cutting:
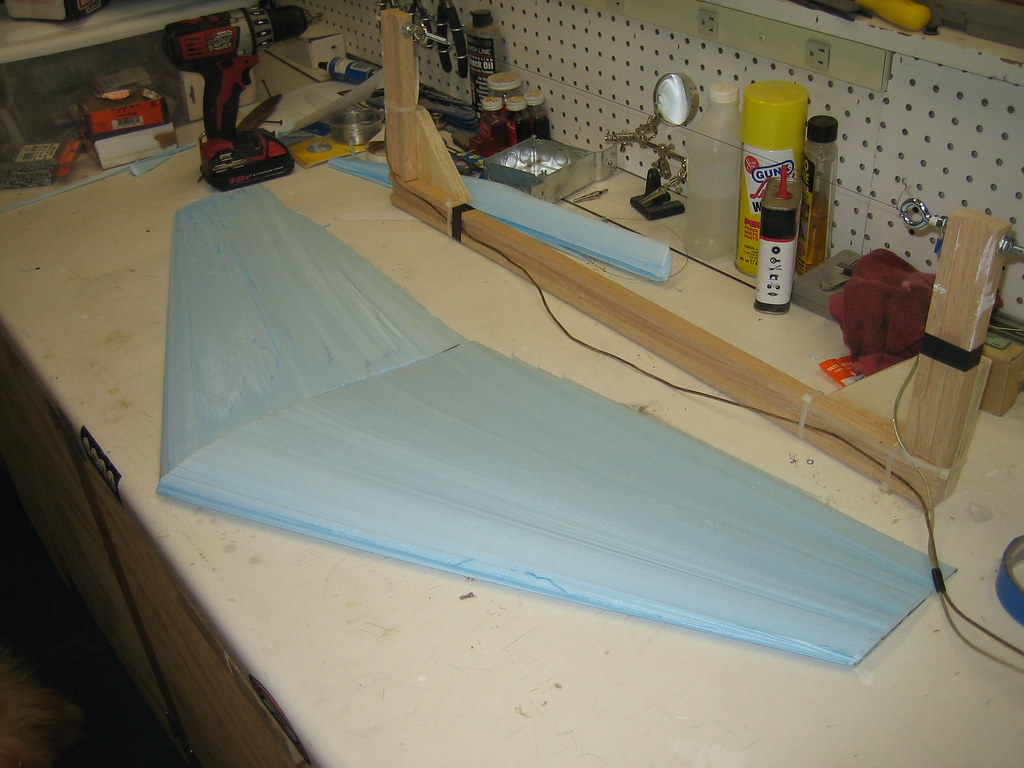
Final Result: (note wire cutter in background)
Cool! How are you going to finish sand the wings to get them smooth?
ReplyDeleteProbably just by hand. I'll try making another set of wing cores when I have an improved wire cutting fixture- I'm hoping to not have to do any finish sanding at all.
ReplyDelete