Sunday, January 23, 2011

Ode to Harbor Freight Floor Nailer


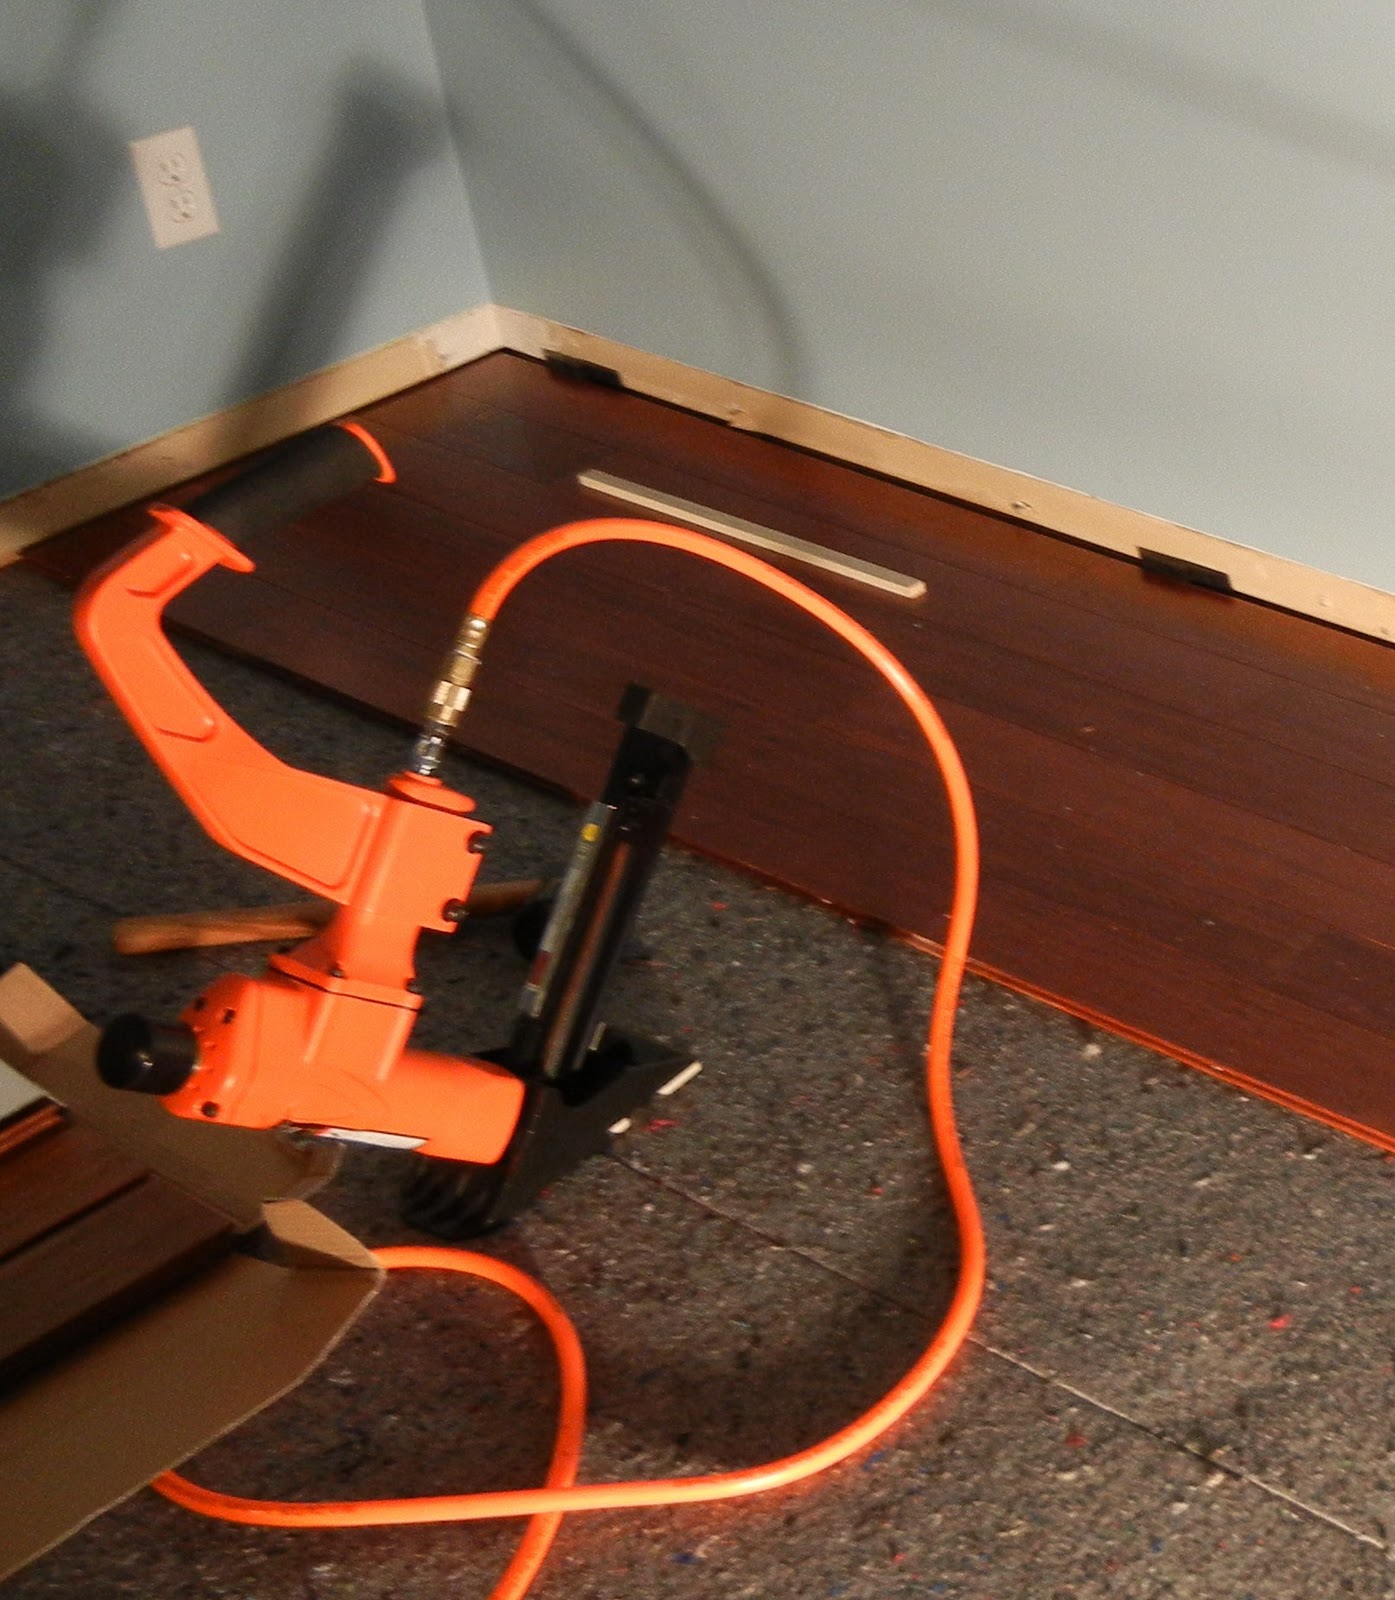
This floor nailer has to be one of the best bargains from Harbor Freight. Just over a $100 after sale and coupon. Works great, and paid itself back after not renting a nailer for two days.

Tips for nailing the Lumber Liquidators Morning Star qing xiamen 5/8" x 3.75" strand bamboo floor:

  • 95 PSI
  • Let the hammer do the work- too little of a swing and it'll be an incomplete nail drive & bulge the wood surface, too much and the tongue will crack.
  • Make sure the guides on the bottom of the nailer are as precisely aligned with the tongue as possible.
The air compressor pressure regulator seems to sag- (porter cable pancake compressor from Home Depot 3 nailer package) I have to check the pressure every few hours to re-adjust. Even with these frequent checks, it seems like I am still getting too many small witness marks on the flooring surface. When the nail is driven in, if the pressure isn't enough enough the finish surface bulges upward very slightly, probably only a few thousands of an inch. But, it's enough to be able to see when you look at the floor from an angle with the lighting just right. Very annoying. 

Snowblower Fix

It's been quite a while since my last post. Not that I've been doing nothing, but mostly that I haven't had the drive to document anything online. Well, I've got the bug again, so here goes...

What follows is a quick documentation of my repairs to our Yard Machines / MTD snowblower model number 31AE160-129. There were a few inconsistancies with other online fix-it references so hopefully this is helpful for someone.

Our used Yard Machines snowblower started having some issues during the first major snowdump back in mid-December. It turns out the weld which connected the bar holding the rubber auger to the main drive shaft failed on one side. You can order a new auger assembly but it's quite expensive- close to $150 shipped. In the photo you can see how that after the weld failed, the rotating shaft actually ground out a larger hole in the steel bar.

Broken Weld, Still in Snowblower

I decided to find a local repair shop to re-weld the part. After trying to find a welder using google maps, I realized the gas station down the street would have welding equipment. I called them, and sure enough Herb's Service Center was game.

The only problem was I'd have to remove the assembly to bring it in. Only a few screws need to be removed to pull the cover off to expose the drive belt. Next up is the removal of the drive pulley. This proved to be an interesting problem. First, I wedged a piece of scrap wood in the auger. This prevented it from rotating when I removed the pulley. I broke out the breaker bar and socket to unscrew the pulley. From the online illustrations and descriptions I could find it appeared as though the pulley simply screwed onto the threaded auger shaft. The "expert" mechanics on varous forums also said the pulley was threaded using standard thread direction- e.g. counter clock wise to remove. I torqued on that thing as hard as I could and nothing budged, except for some warning bending and creaking noises coming from the snowblower frame.

Key Learning Moment:
After a few minutes of leaning on the breaker bar, I decided to sit back and think about it. After looking at how the auger works, it's obvious that a reasonable engineer would spec the pulley with reverse threads, so it self-tightens when encountering a load rather than self-loosens. I put the breaker back back on, tried turning to clockwise and seconds later the pulley popped loose.

Sweet 2x4 "fixture"

Broken Weld after Removal


The guys at Herbs did a decent job with the weld. Not too great looking cosmetically, but there is now plenty of metal to transmit torque to the rubber auger. They also spray painted it a nice shade of blue.


The snowblower went together easily, but seconds after putting it back to service the V-belt failed. Another lesson. Never use the cheap rubber V-belts they sell at every hardware store. Make sure and get the heavy-duty fiber reinforced belts specifically for snowblowers. The proper belt is a 1/2" x 35" large, MTD p/n 754-0101a. The replacement I found wasn't an MTB brand, but a Mitshubishi. It seems to work fine so far.

Wednesday, December 22, 2010

Nice Home-Brew Daylight Alarm Clock

http://processors.wiki.ti.com/index.php/Msp430lamp

In particular, the LED clock segments shine through a wood veneer, so when the display is off it looks like the base is solid wood.

Monday, November 1, 2010

Floating Shelf / Hidden Drawer Complete

The home theater floating shelf is done. I think it turned out pretty well. I need to do some serious cable organization to clean it up, though. I'd also like to find a better home for the HDTV antenna, or perhaps find a more compact antenna to hide behind the TV.


Thursday, October 28, 2010

Floating Shelf / Hidden Drawer in progress

I've been playing with different ideas on how to mount my blu-ray player / home theater amp. Since I mounted the TV on a nice floating arm, I thought doing something similar for the electronics would be nice. The problem is, where do you put all of the cables, power strips, etc? I don't have the option of putting everything inside of the wall cavity since the wall I'm mounting it to is brick.

After seeing some nice floating shelves for books, I thought a neat solution would be to construct a floating shelf, and conceal all the unsightly bits within the floating shelf. To provide access to the storage space, I used some ball bearing drawer slides to create a "inside-out" drawer. The "cabinet" moves, and the blu-ray player will sit on top. The power strips and cables will remain concealed inside of the stationary "drawer" which will be rigidly bolted to the wall. My work in progress is pictured below. Note I do not yet have the front of the shelf attached. I'll sand, prime and paint it once complete to match the fireplace mantle color. It should be rock solid when complete. Every joint is both glued and screwed or nailed together. The interior structural components (in particular the joint between the wall plate and the drawer sides) are all screwed and glued. The visible cosmetic joints are nailed and glued.

Materials used:
  • 3/4" oak veneer plywood for exterior shelf components
  • 3/4" sanded plywood for interior drawer components
  • 14" ball bearing drawer slides
  • misc. screws, finish nails, and wood glue

Floating shelf as closed (front is not yet attached)


Floating Shelf as open

The ball bearing slides are quite nice and reasonably priced. $11 or so at Home Depot. There is very little slop in them- I think they might be suitable for use in a home CNC machine as inexpensive ways.

Thursday, October 21, 2010

Supercub Flight Report

SK 35-30 1400kV motor with the Custom RC Parts motor mount and a 9x6 APC prop is superb in the Supercub.  Much, much more power, very smooth running, and the flight dynamics do not seem to be noticeably upset.

The new water rudder worked great- for a while. Then water infiltrated the housing and started shorting it out. I had to disconnect it after the first flight. Hopefully the servo will dry out and work again. If so, I'll try waterproofing it with some bicycle bearing grease and try again.

Supercub Updates

Last Friday I had the oppotunity to fly the supercub off of Kai's pontoon boat. Kai and his brother also flew- three nearly identical floatplanes in the air at once made for some good fun. However, one of the gearbox components in my plane failed. While it would still fly, it vibrated horribly and would undoubtably eventually cause some fatigue failures.

Photo Courtsey of Kai


Luckily, I had ordered a motor and motor mount several months ago for this eventuality. Last night I installed a Turnigy SK 3530 1400kv. Since the Supercub came with all-in-one receiver and brushed motor ESC, I had to add an external brushless ESC. I chose an old E-flite 30A that was left over from my first T-28, RIP. The only prop I had on hand that would be even close to approriate was a 9x6. With a 20c 2200 mAh battery it pulled 36.5A. A little high, but since I rarely fly full throttle for any amount of time I felt it would work until I puchase a more appropriate prop. I think a 10x5 or 10x4 might be a good choice.


As long as I had the airplane torn apart, I used the opportunity to add a water rudder. I had a very nice plastic water rudder left over from the set of coroplast floats I had purchased on E-bay for my old 0.40 gas trainer. While those floats and the gas aircraft are long gone (sold on craigslist), I held on to the water rudder since it looked like a nice piece of hardware. I cut a pocket into the left float for an old servo, used a left-over pushrod and clevis, and we're in business. I'm excited to see how it handles both in the water and in the air now.