It was time for some new, more aggressive tires for the fatbike. The Husker Du's I have are great on dirt and hard pack snow, but in looser conditions they really struggle. I'm planning on putting them back on next spring.
45Nrth has a new tubeless ready tire called the Vanhelga that has been getting great reviews- I decided to give it a try. It seems to be the widest, most aggressive tire I can fit in my old school 170mm 9:zero:7. New snowbike tires are not for the faint of heart- they certainly lighten the wallet. I've never paid this much per tire for even car tires!
 |
| Apply for a loan before you bring these to the counter |
I decided to go with the more expensive 120TPI version- even with the additional cost, it's probably the cheapest way to knock some serious weight off of a fatbike.
As soon as I got home I tossed the tires on the scale:
120TPI 45Nrth Vanhelga: 1279g & 1298g each
Amazing that this aggressive of a tire is as light as it is.
 |
| Motorcross or Snowbike Tire? |
 |
| "old" tires: 45Nrth Husker Du, 60TPI |
As I took parts off the bike in preparation for changing out the tires (and attempting a tubeless conversion) I put everything on the gram scale.
Old Front Wheel setup: 3380g (all up inc. tire, tube, etc)
Bare Front Wheel: 1345g
- MargeLite rim
- 907 135mm hub
- 160mm rotor
- spokes, etc
Surly rimstrip: 60g
Bontrager 26x2.50-2.80 Tube: 280g
45Nrth Husker Du, 60TPI: 1650g
I'm going to attempt a tubeless conversion, but not the full "ghetto" tubeless conversion with split inner tubes, sill foam, etc. I'm going to first just try a solid rim tape setup and go from there.
 |
| Supplies, ready to go |
Materials:
- 3M 8898 Tape, 72mm width
- Reflective Tape, cut down to ~43mm width
- Stan's valve stems
- Stan's sealant
- Tires
Plan:
1) remove tire, tube & rimstrip
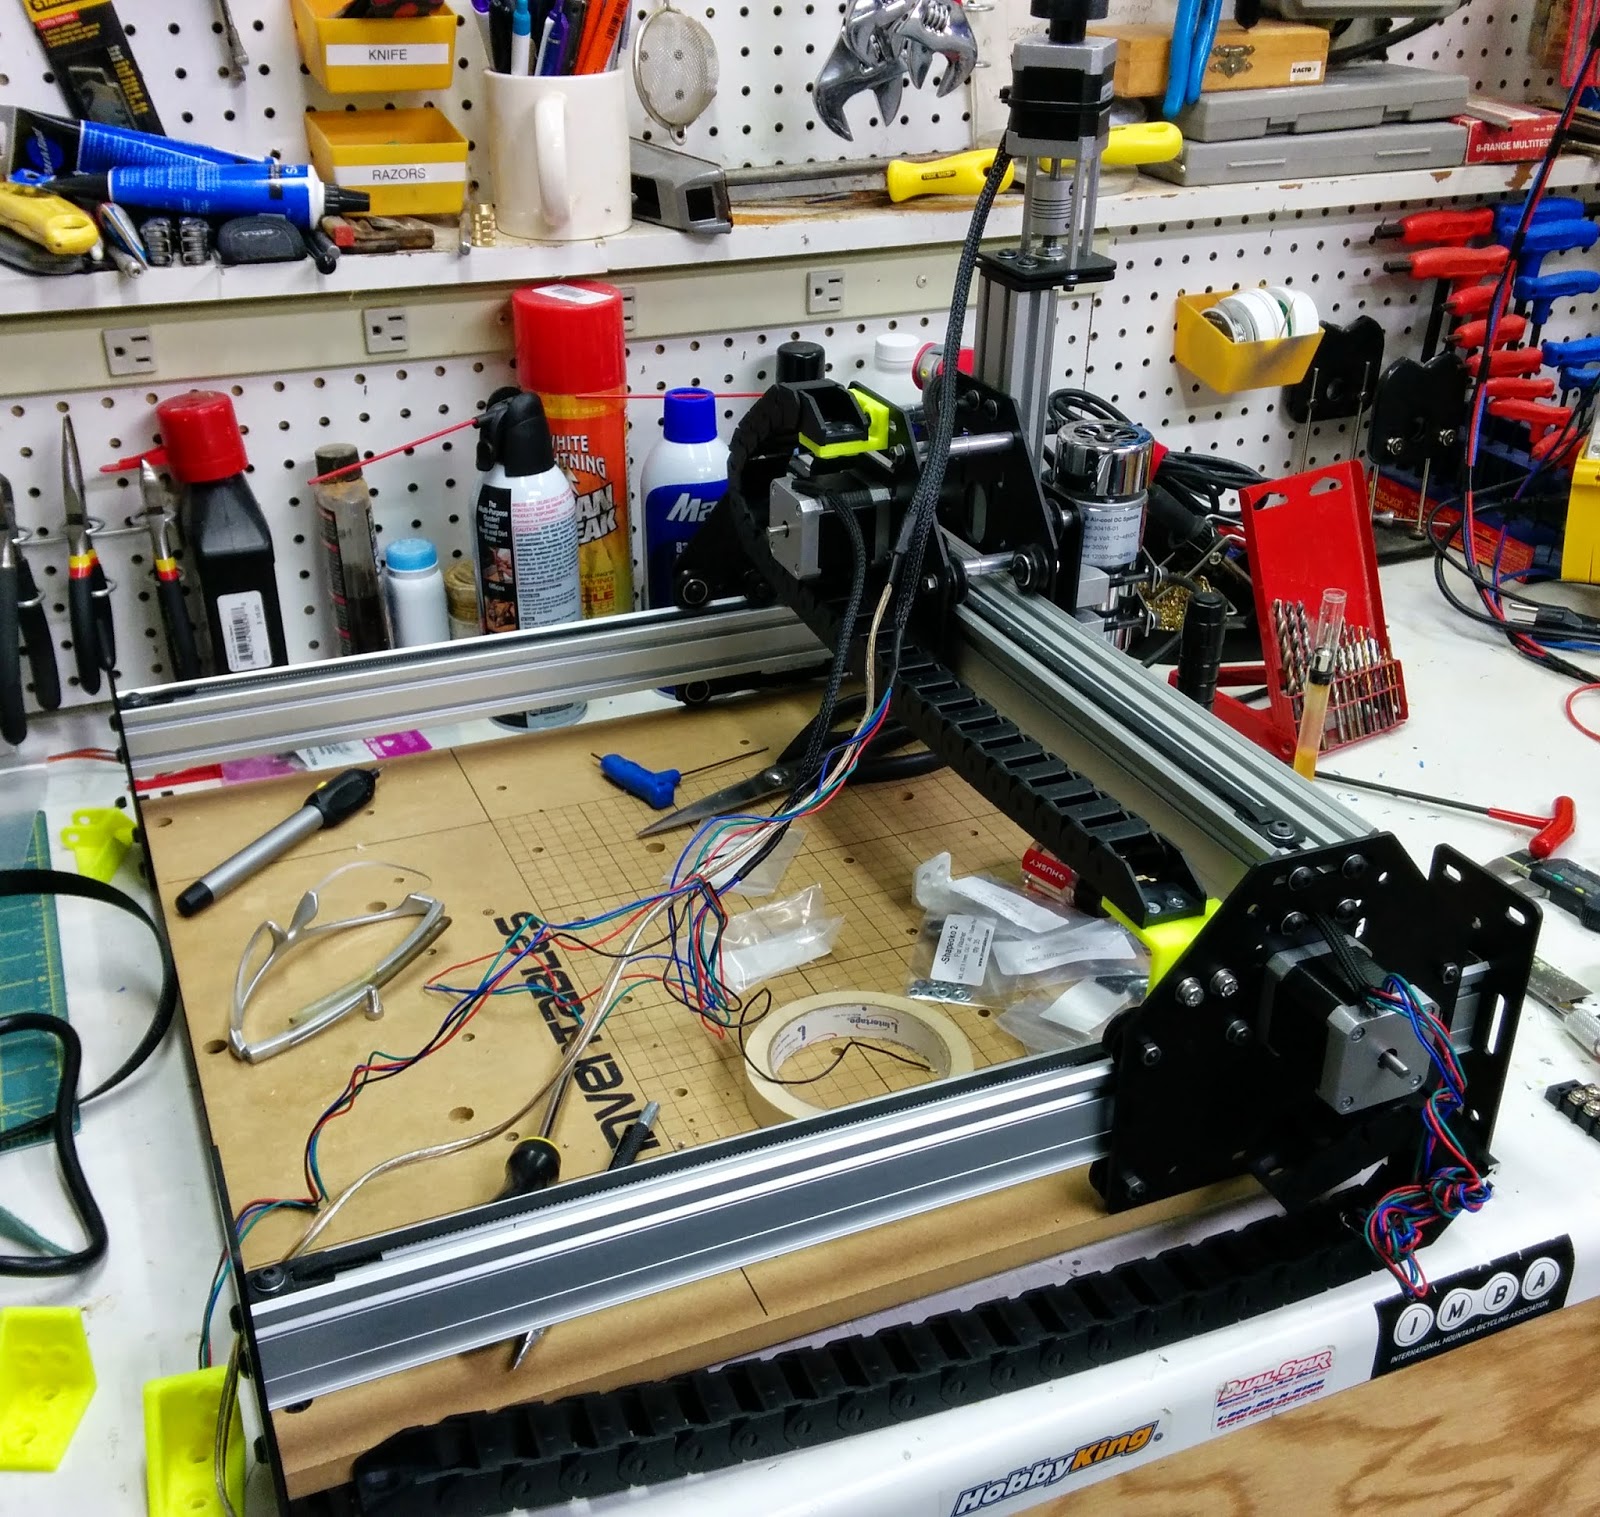
2) true wheel
3) clean rim with rubbing alcohol
4) Cut down reflective tape & wrap around rim, securing at one end with small piece of tape, then stick to itself
5) apply 3M 8898, try to keep centered
6) carefully stick tape down to bead seat area of rim
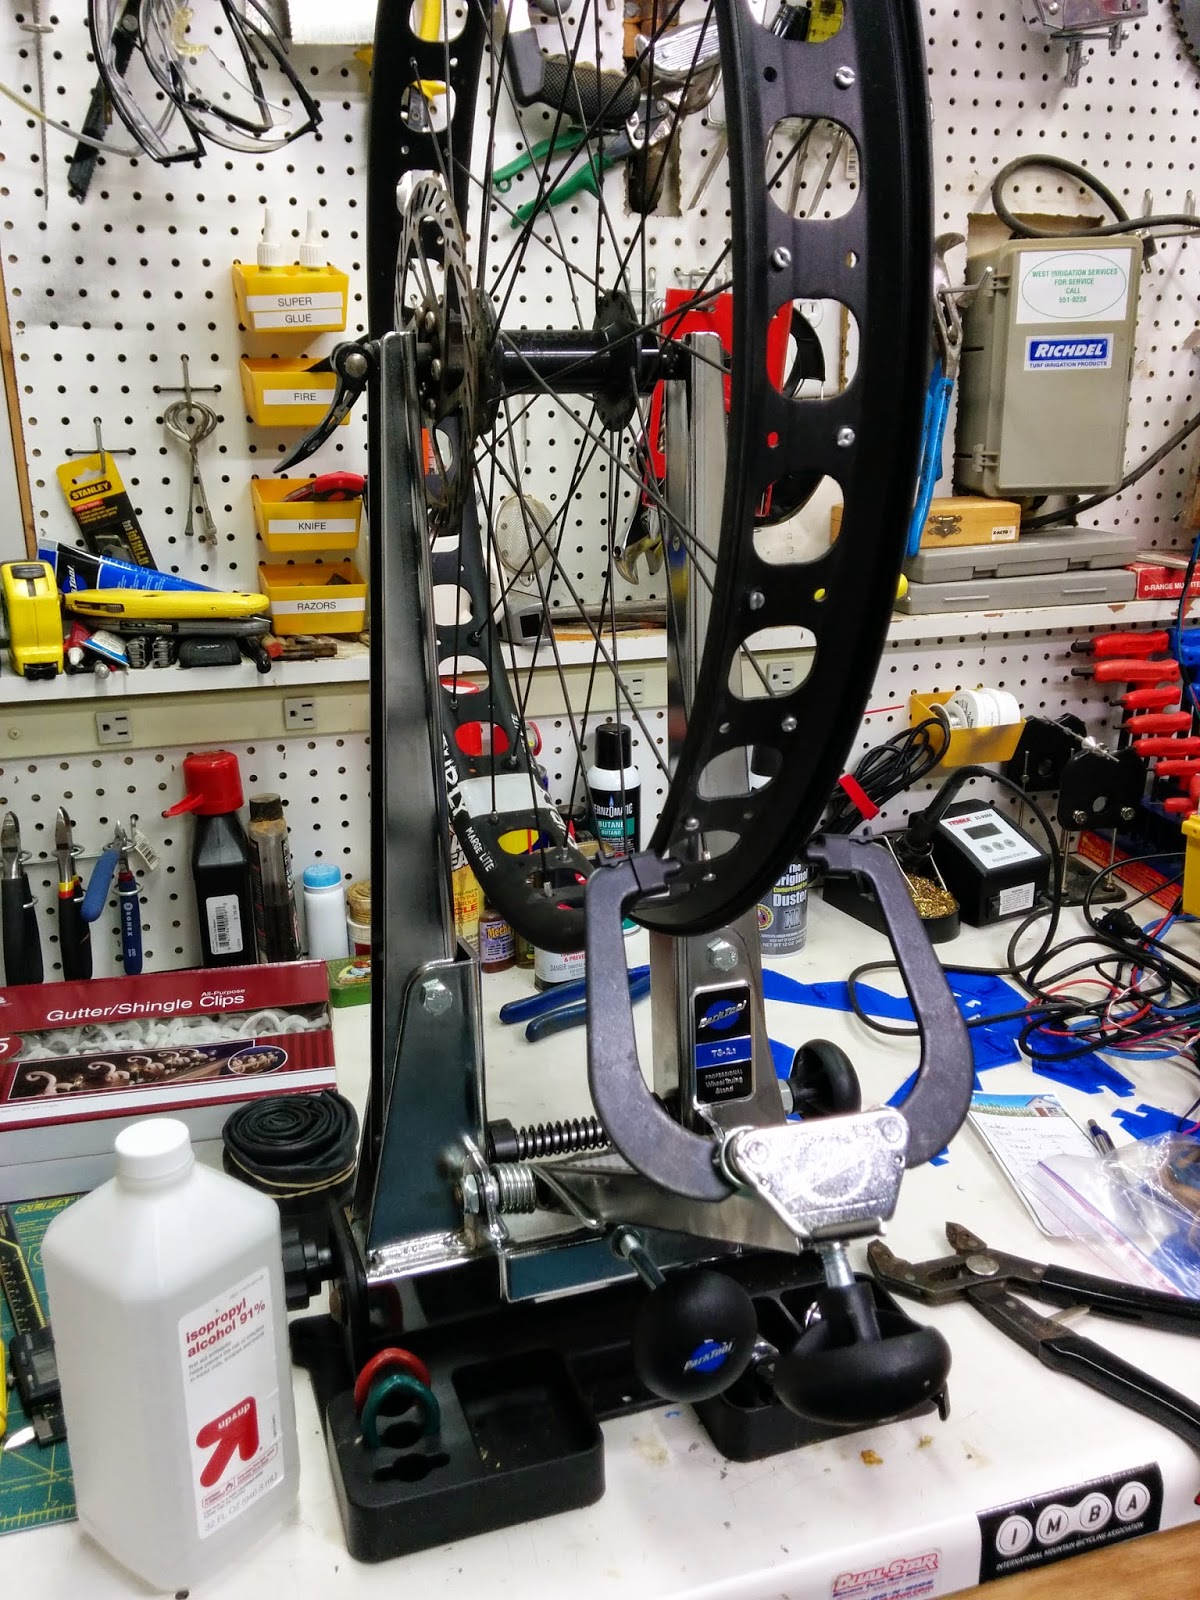 |
| Tire & rim strip removed, rim cleaned, truing it up. |
 |
| Starting to wrap inner layer of reflective tape- sticky side "out", reflective side in (to show through rim cut-outs) |
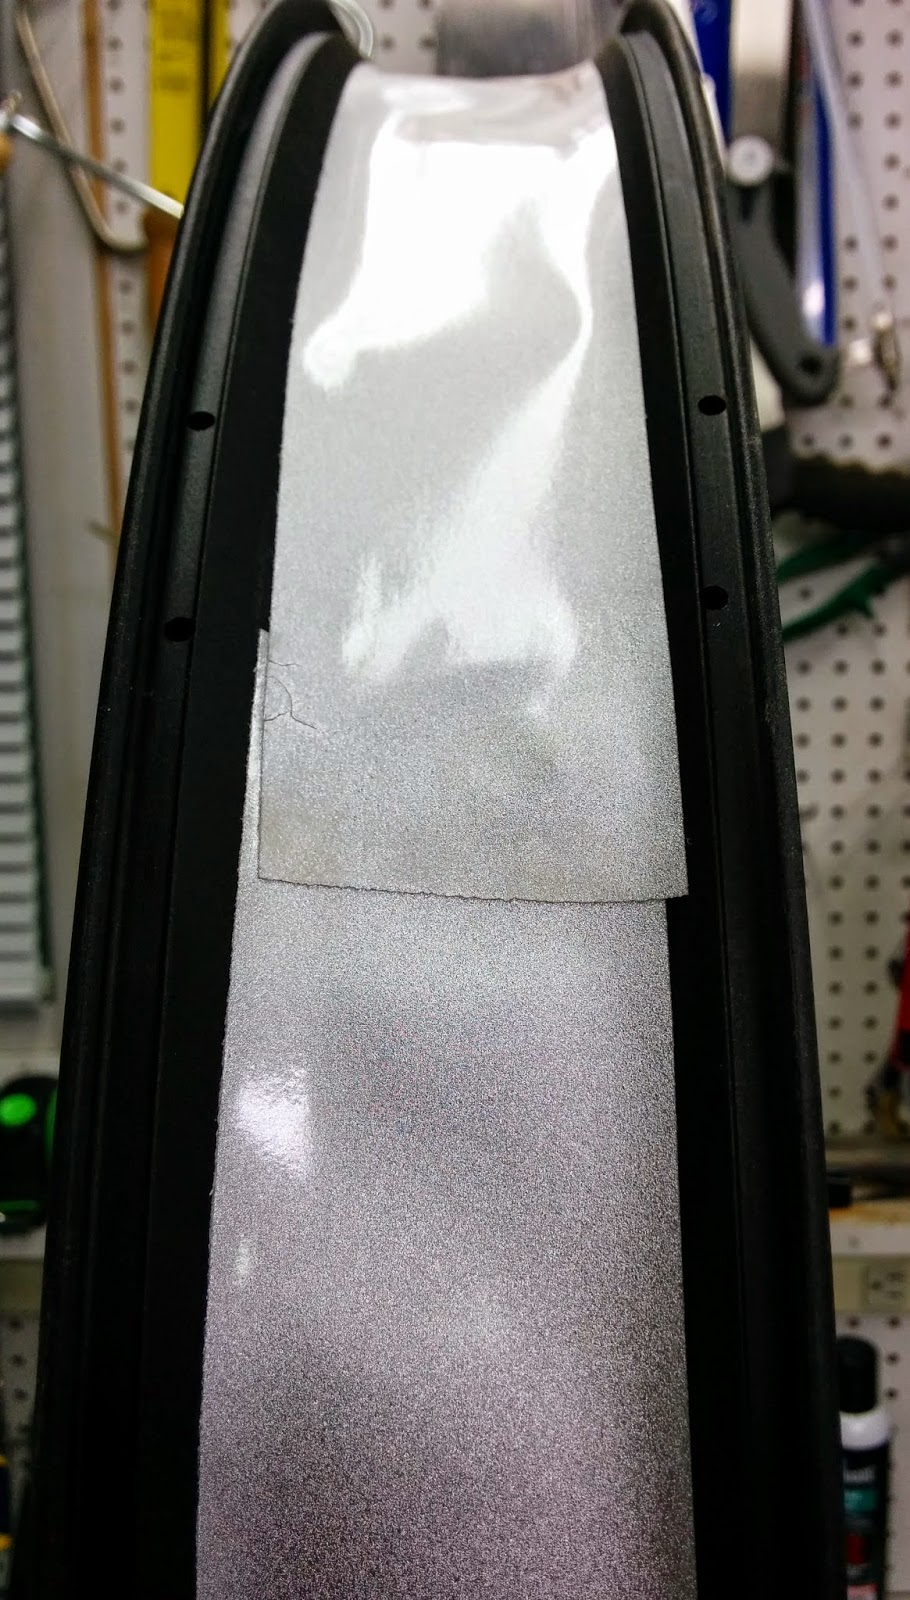 |
| Full wrap of reflective tape |
 |
| Getting the 72mm wide 3M 8898 wrapped down tightly was tough- it's nice and tight over bead seat area but not in the center. |
1384g after reflective rim strip & 72mm 3M 8898
 |
| That's one beefy tread pattern |
It looked good and I had high hopes for an easy tubeless setup, but no luck. I couldn't get the bead to seat even using the tie down strap method, with valve core removed and an air compressor. I tried putting a tube in, seating the beads, popping one bead, removing the tube, and trying again- but no luck. There is just too much room between the tire bead and the center of the rim. I think it'd work fine using the sill foam tape trick, but that'll be for another day.
So, I gave up tubeless for now- re-installed tube. Even with a tube there was substantial weight savings from the new tire:
2920g Front wheel, new rim strips, tube & new tire =
460g savings from the front wheel alone
I repeated the process with the rear tire, minus the tubeless attempt.
Old Rear Tire on wheel: 3920g (all up, tire, tube, etc)
Bare rear wheel: 1897g (no rimstrip)
- MargeLite
- 907 170mm hub
- 160mm rotor
- Cassette w/ 42T Giant Cog
- spokes, etc
Bare rear wheel with 72mm 3M 8898 & reflective tape: 1962g
rear wheel with Vanhelga, Tube: 3470g = 450g savings
So, just changing out tires and rim strips to the new 120TPI Vanhelga's yields 910g weight savings, just a hair over 2 pounds. Pretty amazing, especially considering the new tires are both wider and have much, much more aggressive tread patterns.
 |
| Still plenty of chain clearance with a 1x10 setup. A 2x10 might be pretty tight. |
A short ride around a frozen lake with 2-4" of snow shows the new tires function much better in loose snow- they tracked and gripped with authority. I'm hoping to ride some snow-covered singletrack this weekend!
I'm also going to search through Menard's and try to find some self adhesive foam tape for the tubeless conversion.