Initial thoughts, review on Makerbot Replicator 2x upgrades from BC Technological Solutions:
After using a Replicator 2x for the past several months at my office, it was apparent that it desperately needed a glass build platform. The stock aluminum build platform wasn't flat, and it was time consuming and difficult to remove finished parts from the heated build platform. Plus, it required re-application of expensive Kapton / Polyimide film every dozen prints or so. I looked around for options, and the one I selected was from
BC Technological Solutions. The impressions on the forums were decent, and the pictures looked pretty good. They seem to be perpetually backordered, so it took a few weeks for the parts to arrive. I ordered both the glass build platform / heated bed upgrade as well as the aluminum arm upgrade.
The parts arrived in two separate shipments, one for the heated bed and one for the upgraded arms. The aluminum arm upgrade required almost total dis-assembly of the Makerbot 2x. The glass bed upgrade was much less invasive, and would be pretty simple if done by itself.
 |
| Upgraded aluminum arm components. Bag 'o' hardware, nicely CNC'd arms, and a few printed parts |
The replacement arms were nicely CNC'd from billet aluminum. The quality looked pretty good- not really top shelf, but all cuts were clean, burrs were removed, finish was good, and necessary holes were cleanly tapped. It did not appear that they were anodized though.
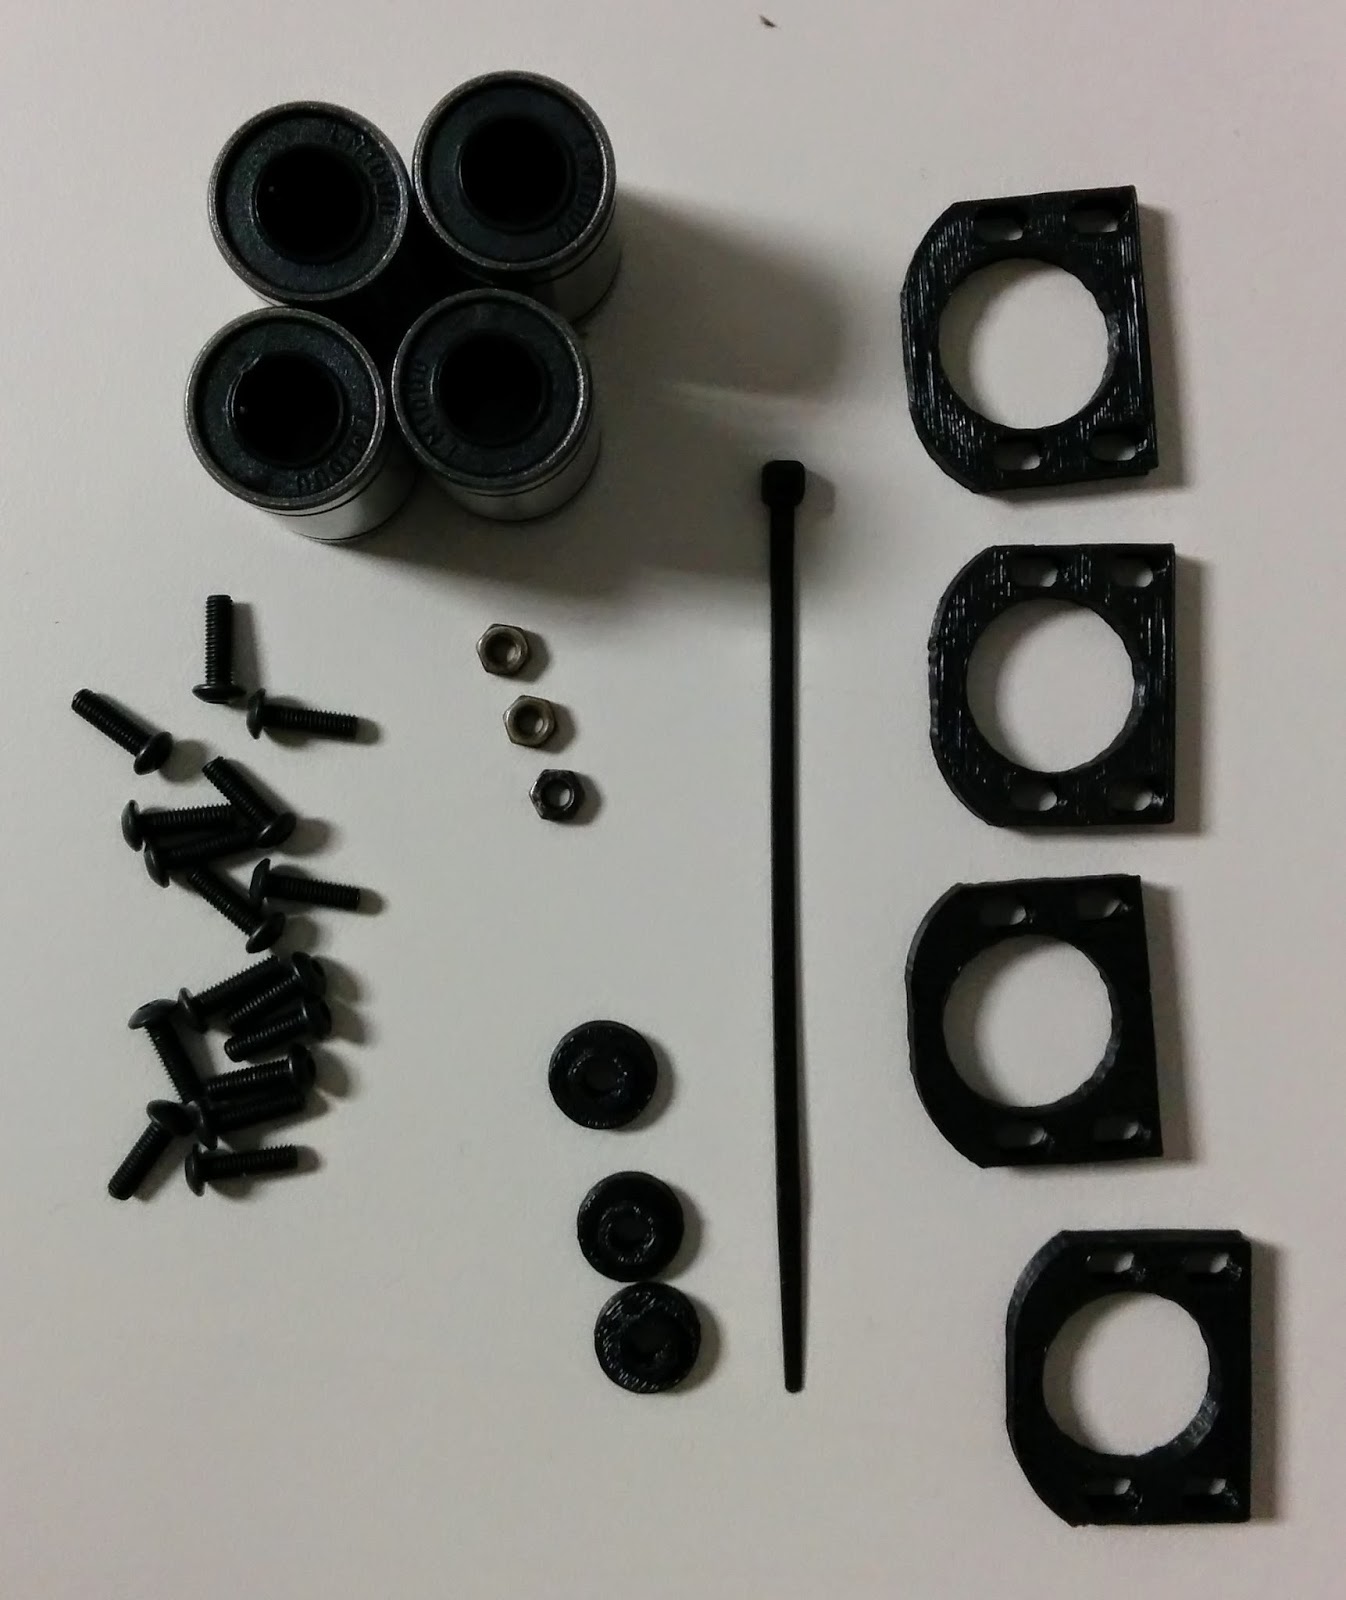 |
| Bag 'o' hardware opened. Misc fasteners, recirculating ball bearings, printed spacers and printed bearing mounts |
The printed parts of the kit looked like they were well done, and printed at about 0.1mm layer height. Fits on the printed parts were very good, they slid over the bearings and screws without any issues, and no sanding required. The creators of the kit obviously spent time optimizing their part design for printing.
The kits came with nice printed instructions. So, I won't provide instructions here, just some general photos showing the process. Overall it was an easy upgrade to install- but it did take time, and assembling the Z axis slide required some careful aligning of parts and patient work.
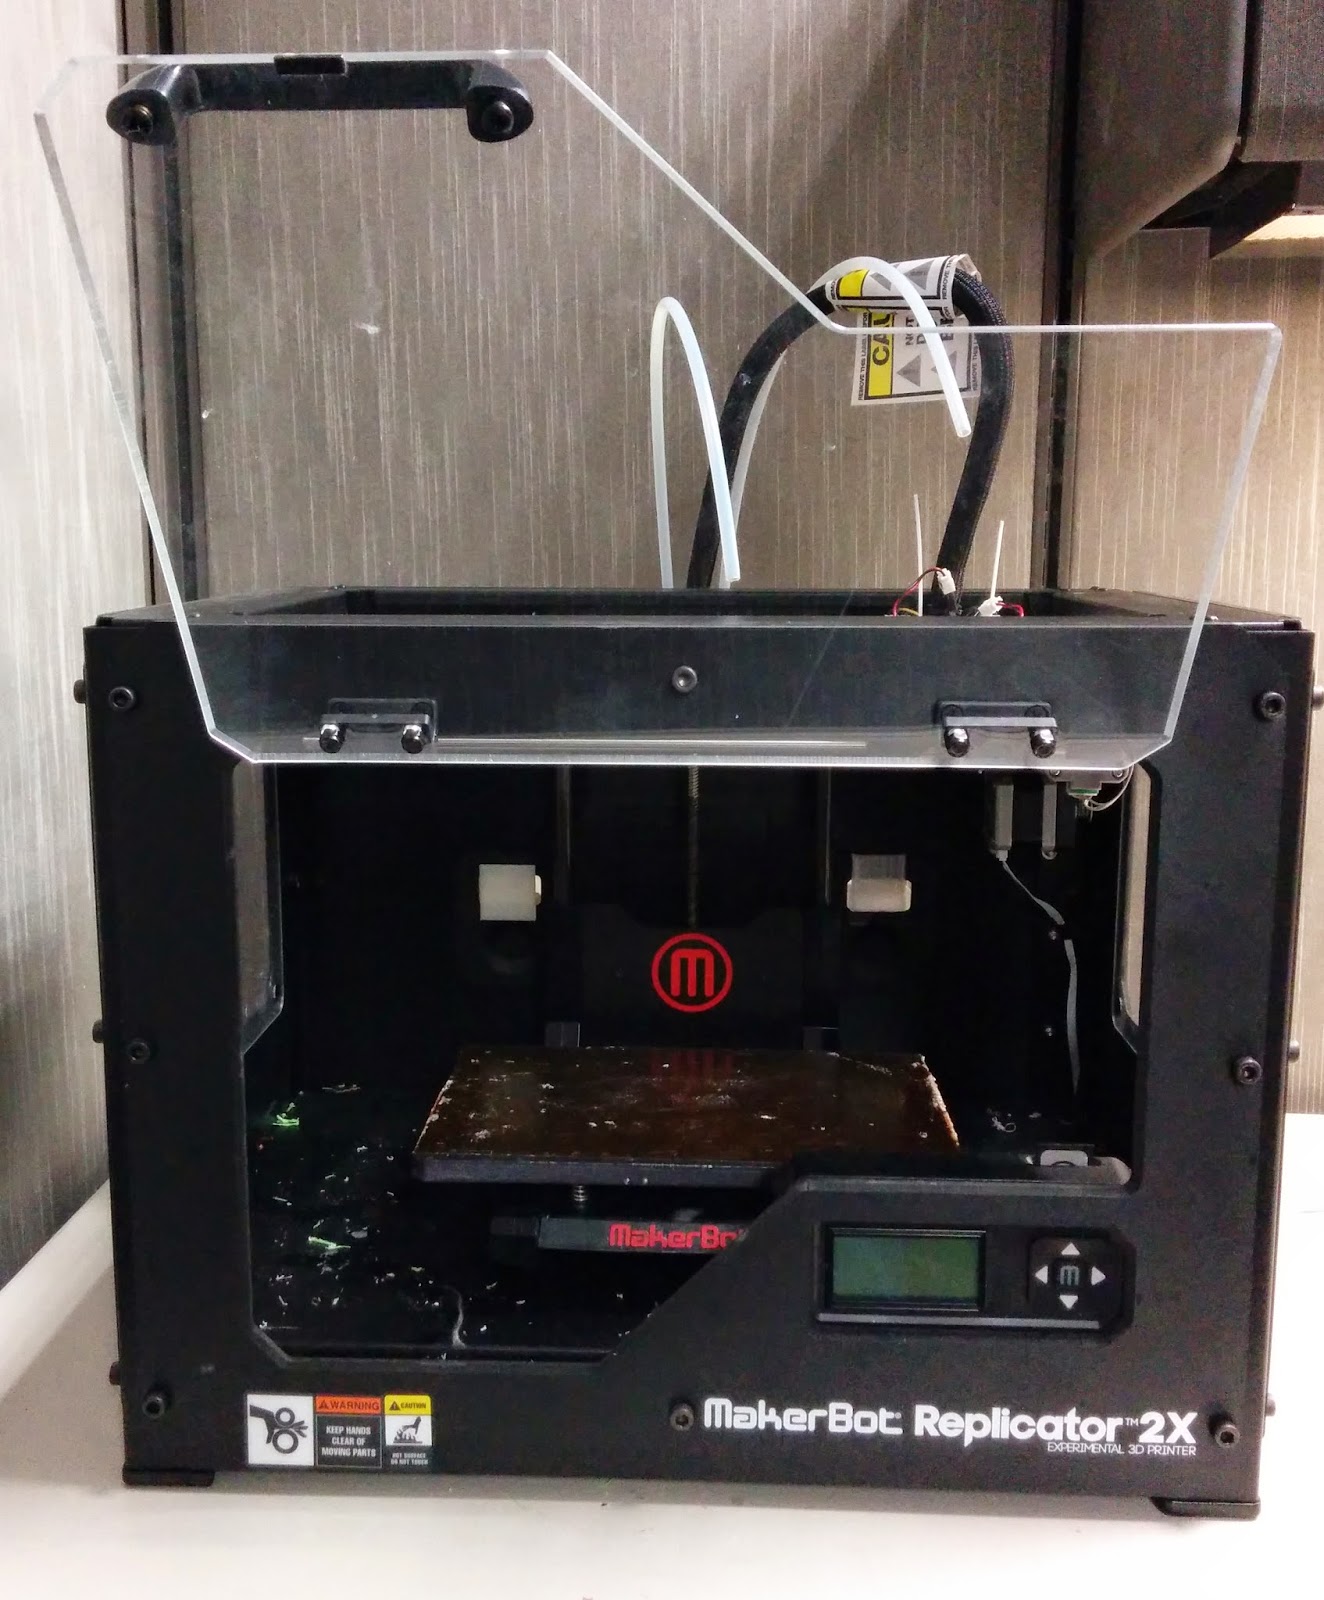 |
| The patient, ready for surgery |
 |
| Bottom of 2x, ready for electronics cover removal |
 |
| Makerbot Mightyboard (Z-axis stepper on the bottom right) |
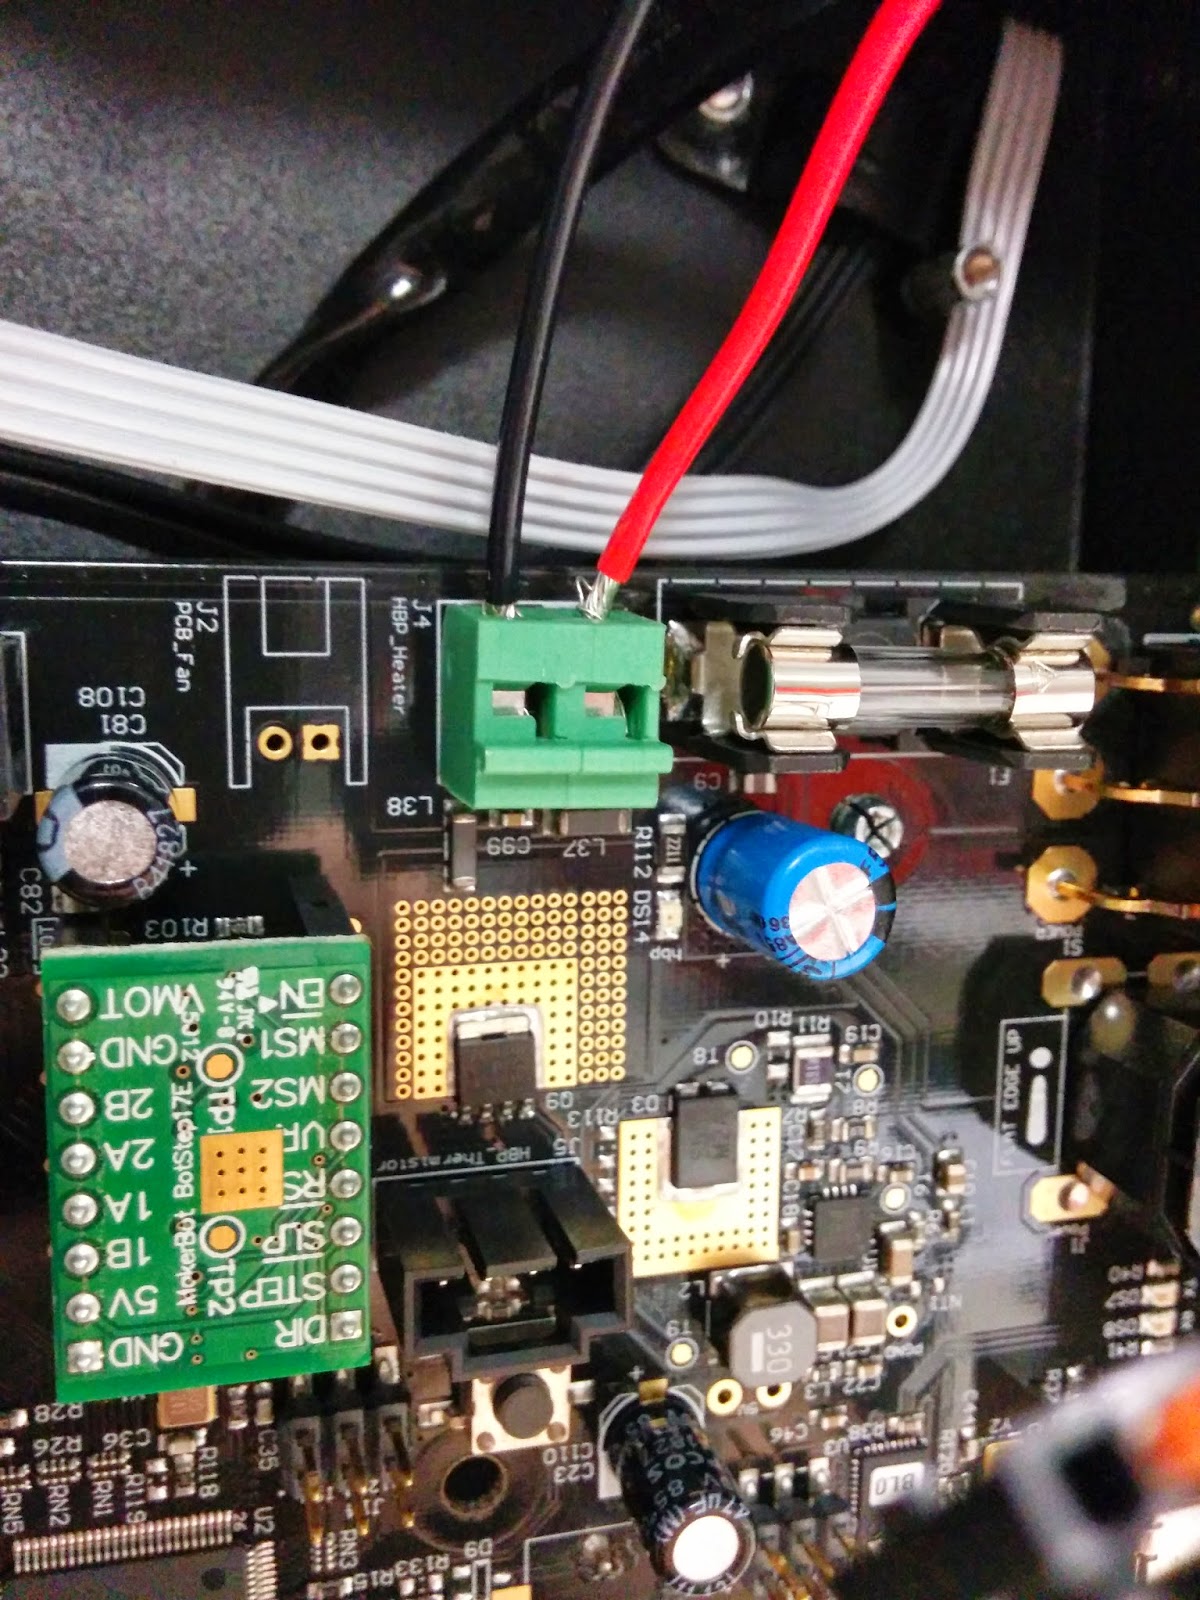 |
| Heated bed thermistor unplugged. Red and Black wires are the power leads for the heater. How do those come off? |
 |
| Oh, you just press the buttons and the wires nicely pull out! |
 |
| Stock heated bed removed |
 |
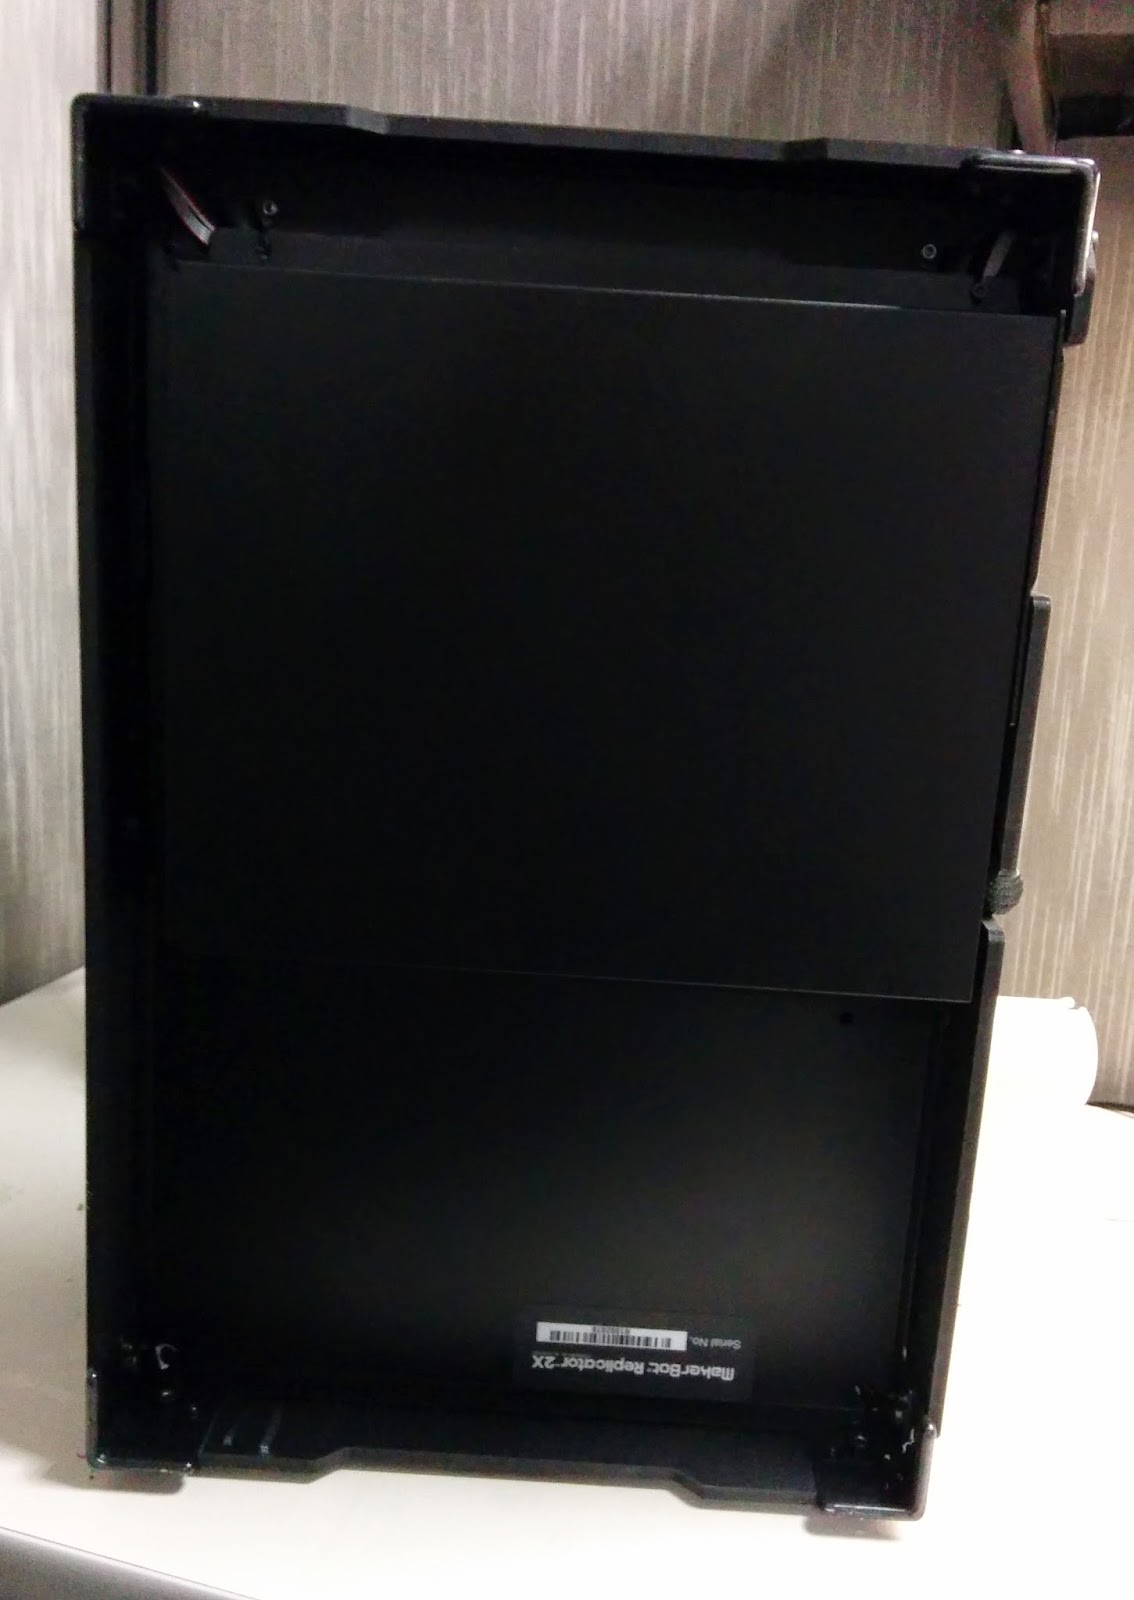
| Back of the Makerbot 2x, back cover removed |
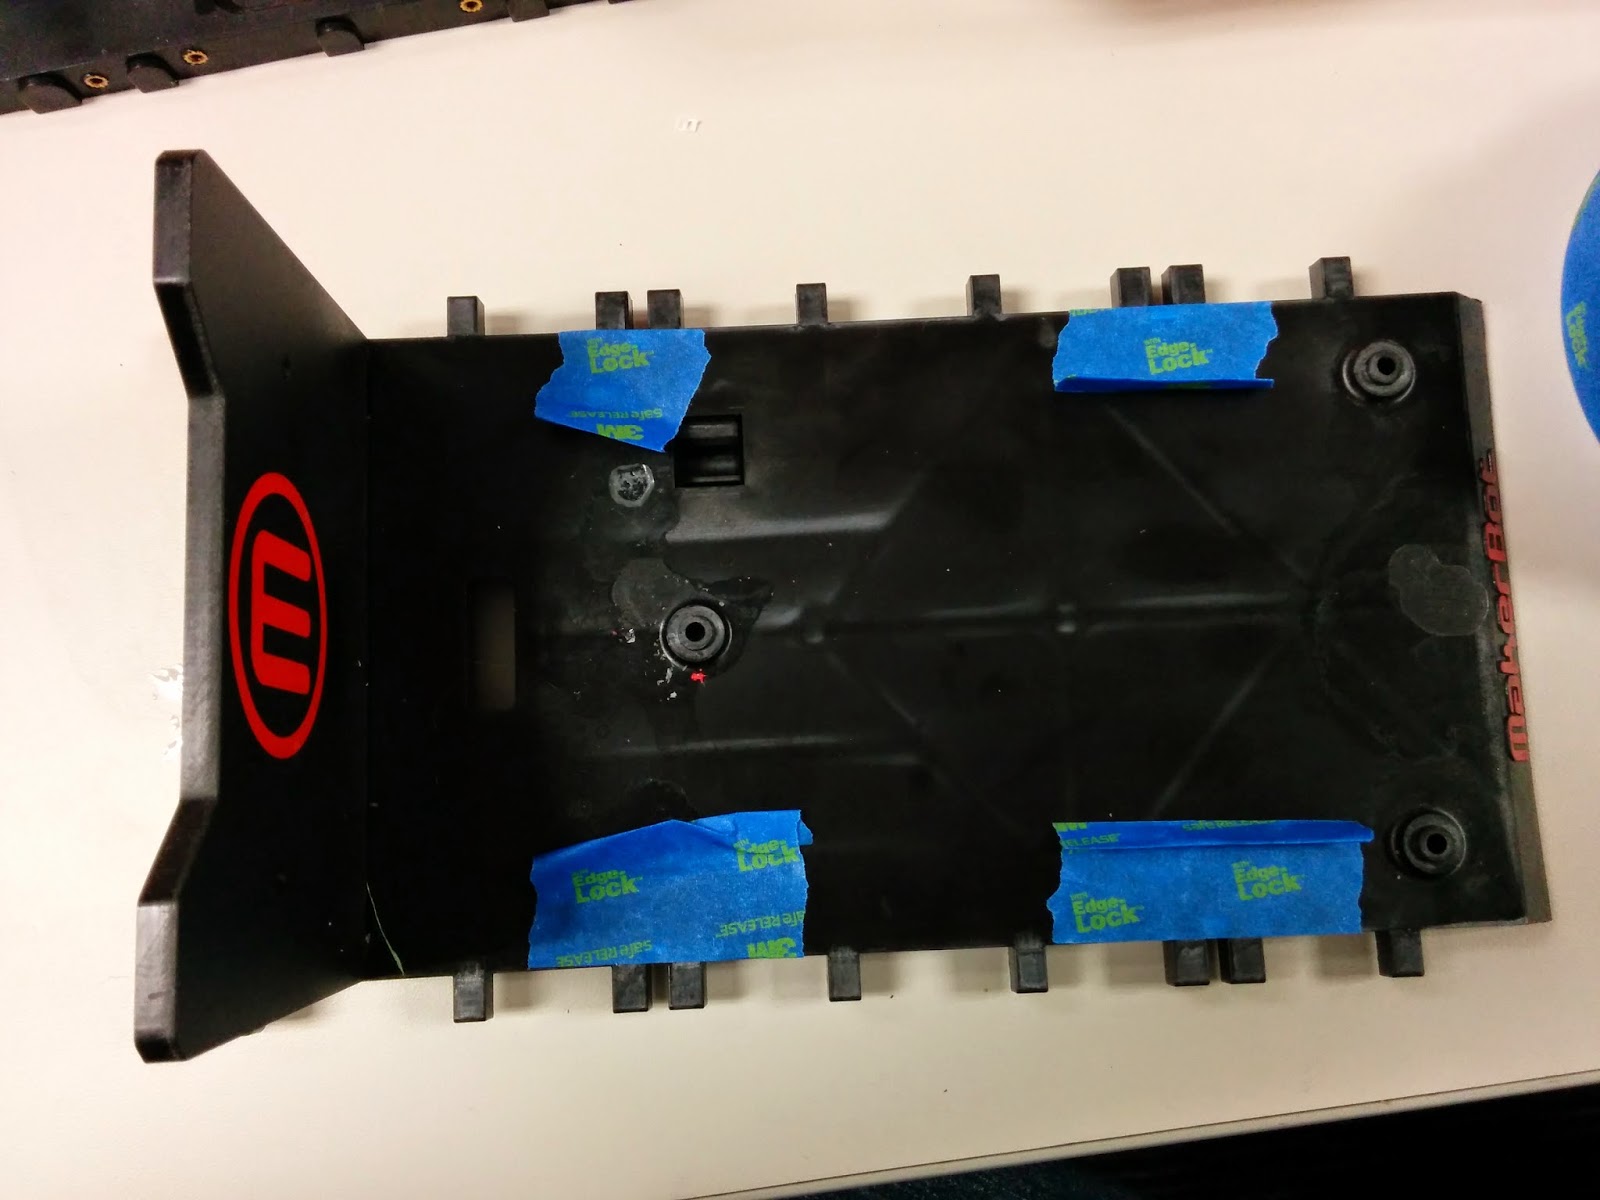 |
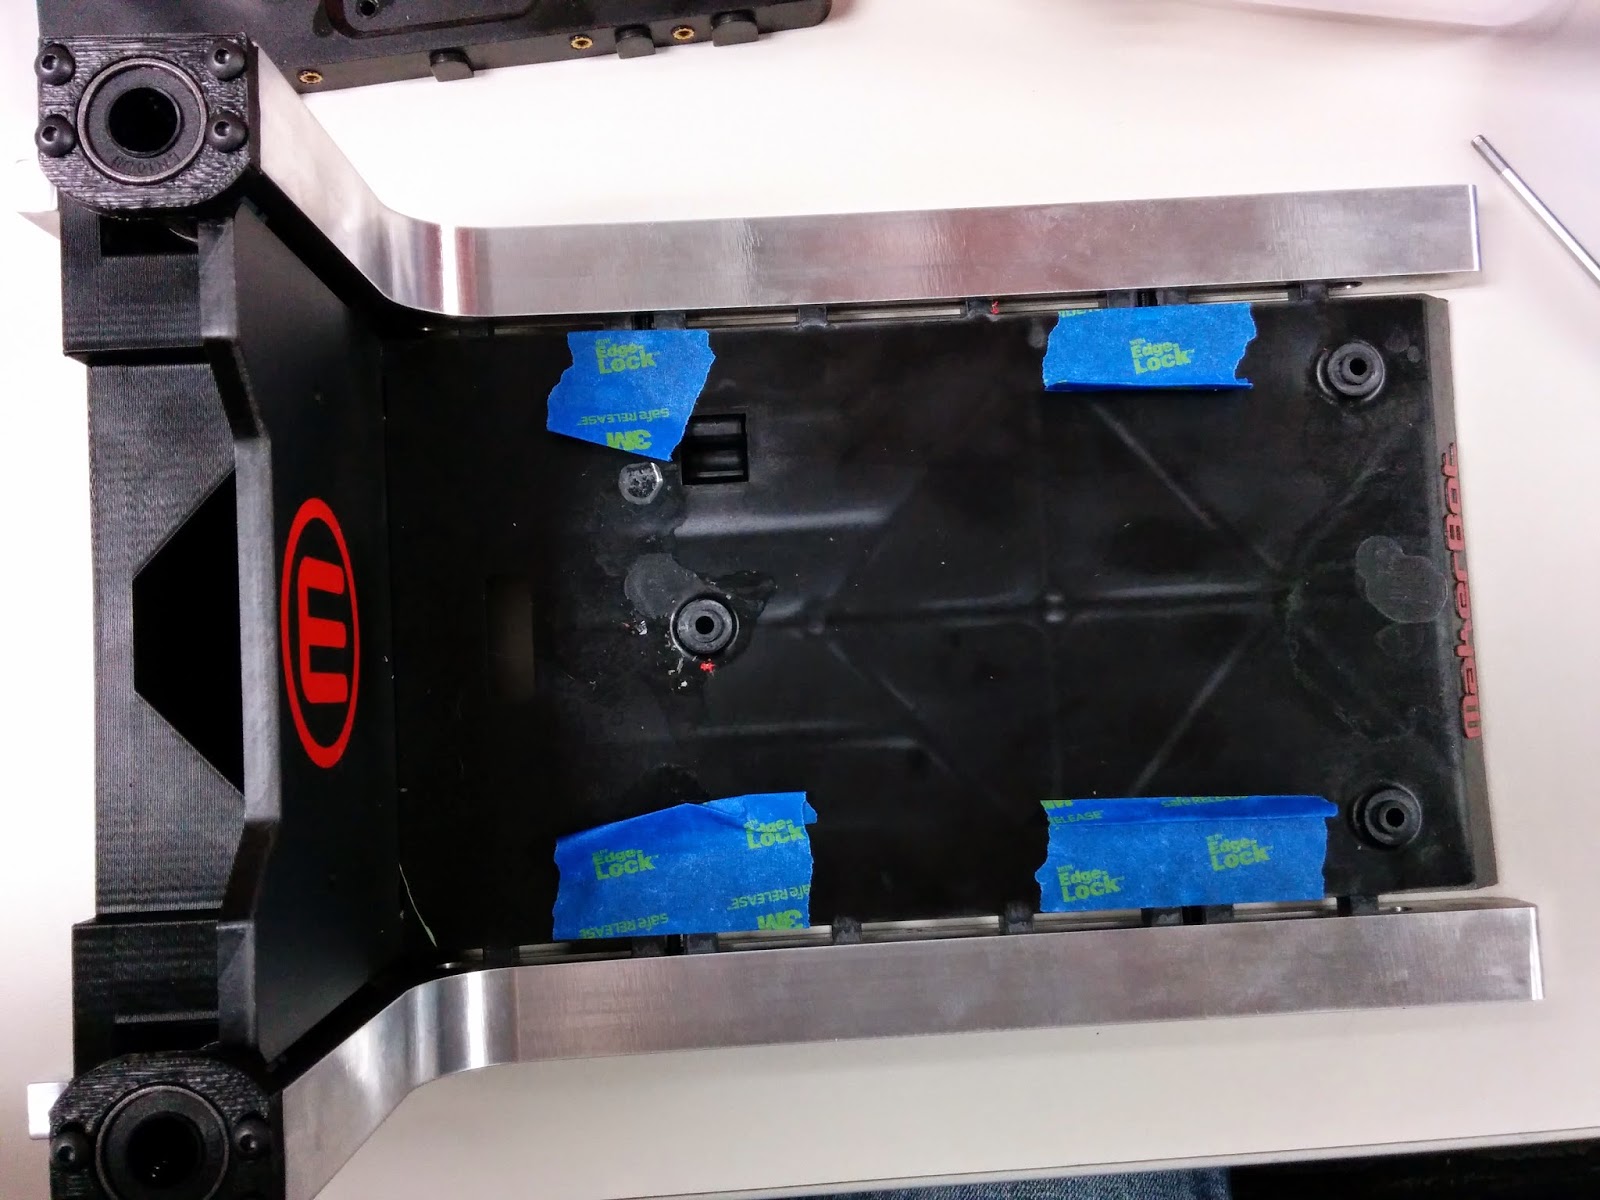
| Stock platform with plastic arms removed. Tape prevents nuts from falling out |
 |
| Aluminum arms installed |
 |
| Nuts in nut traps, screwed in place |
 |
| Platform loaded onto Z axis rods |
 |
| Z axis top plate in place |
 |
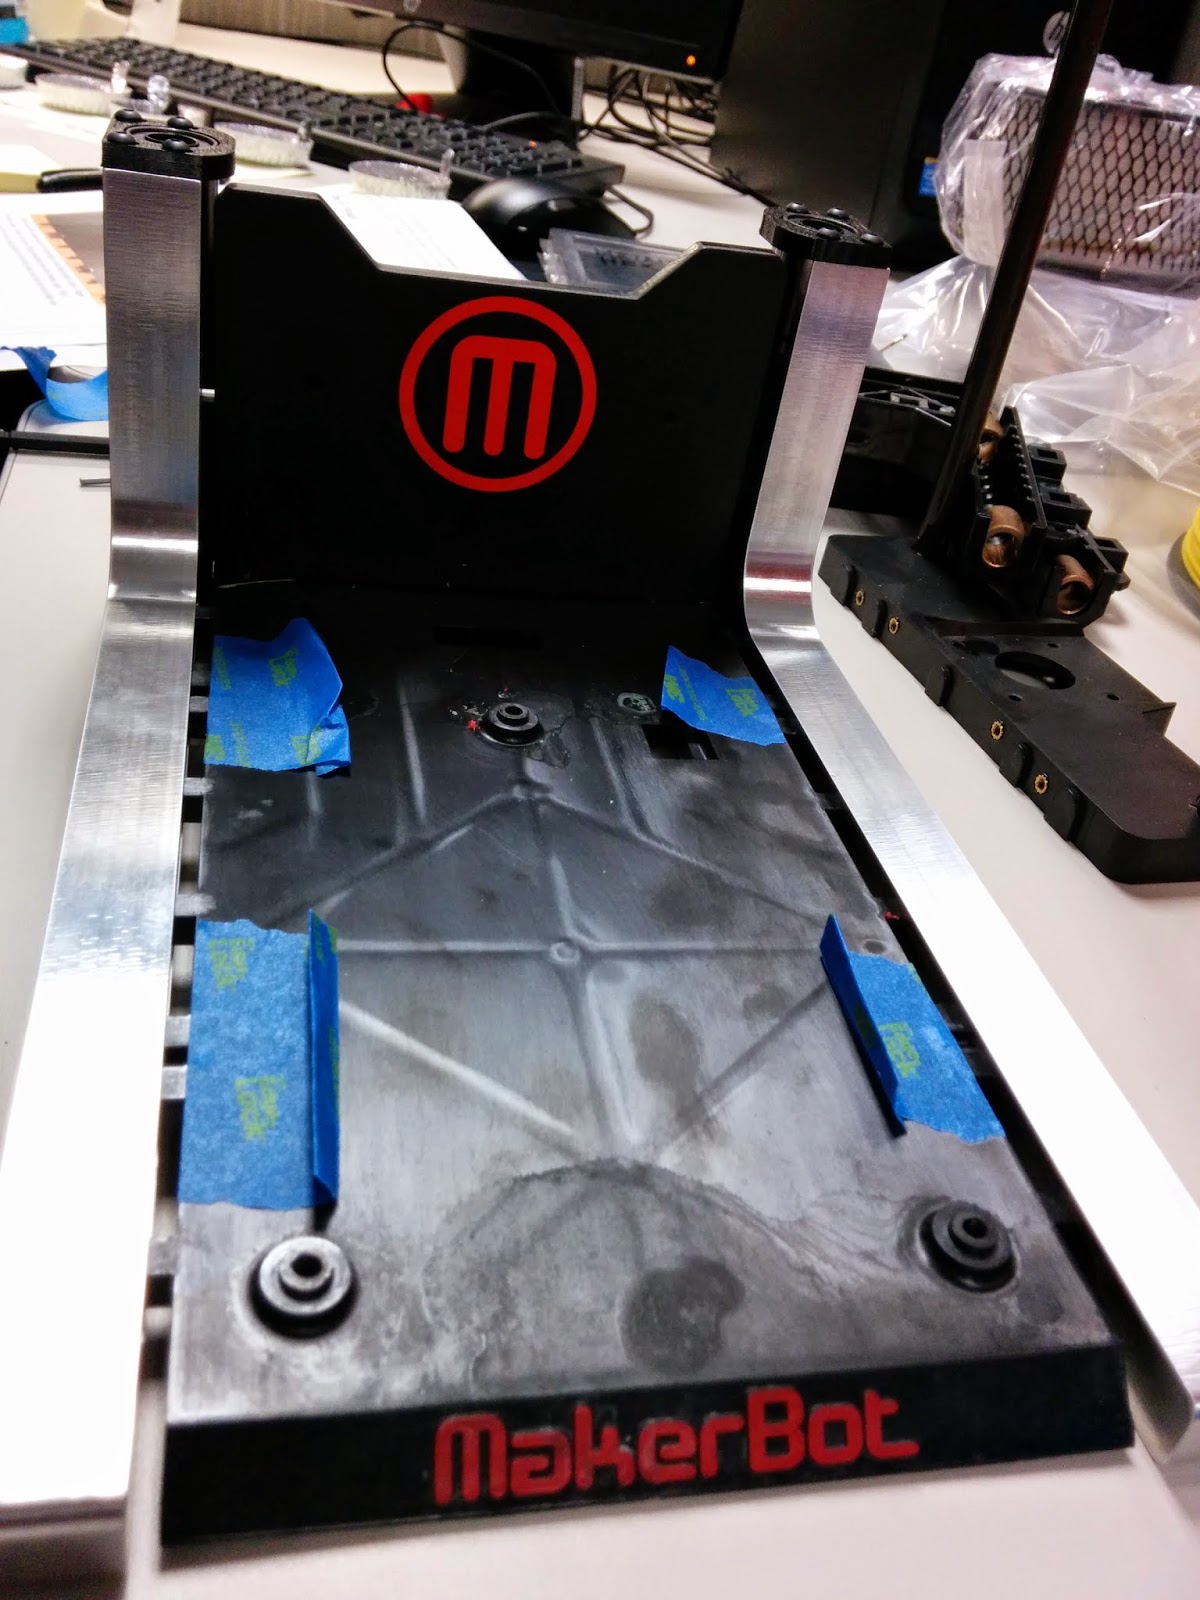
| New heated bed in place (no glass) |
 |
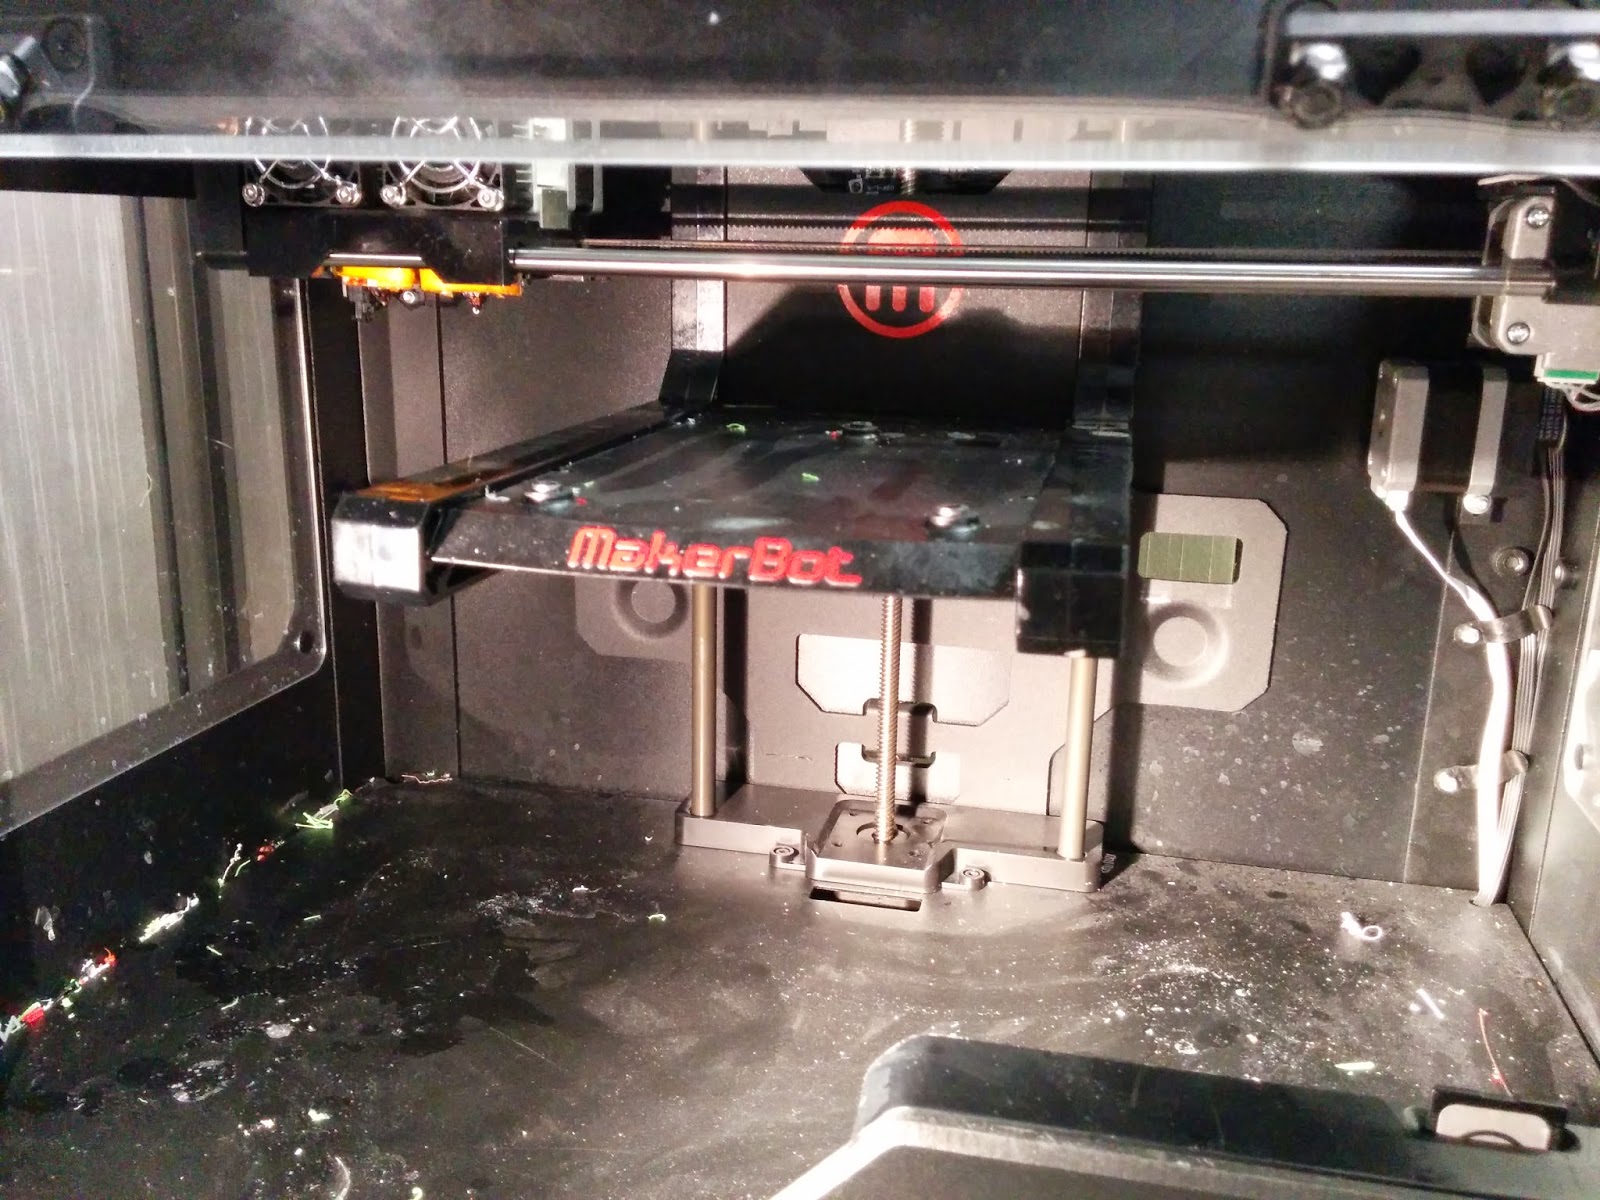
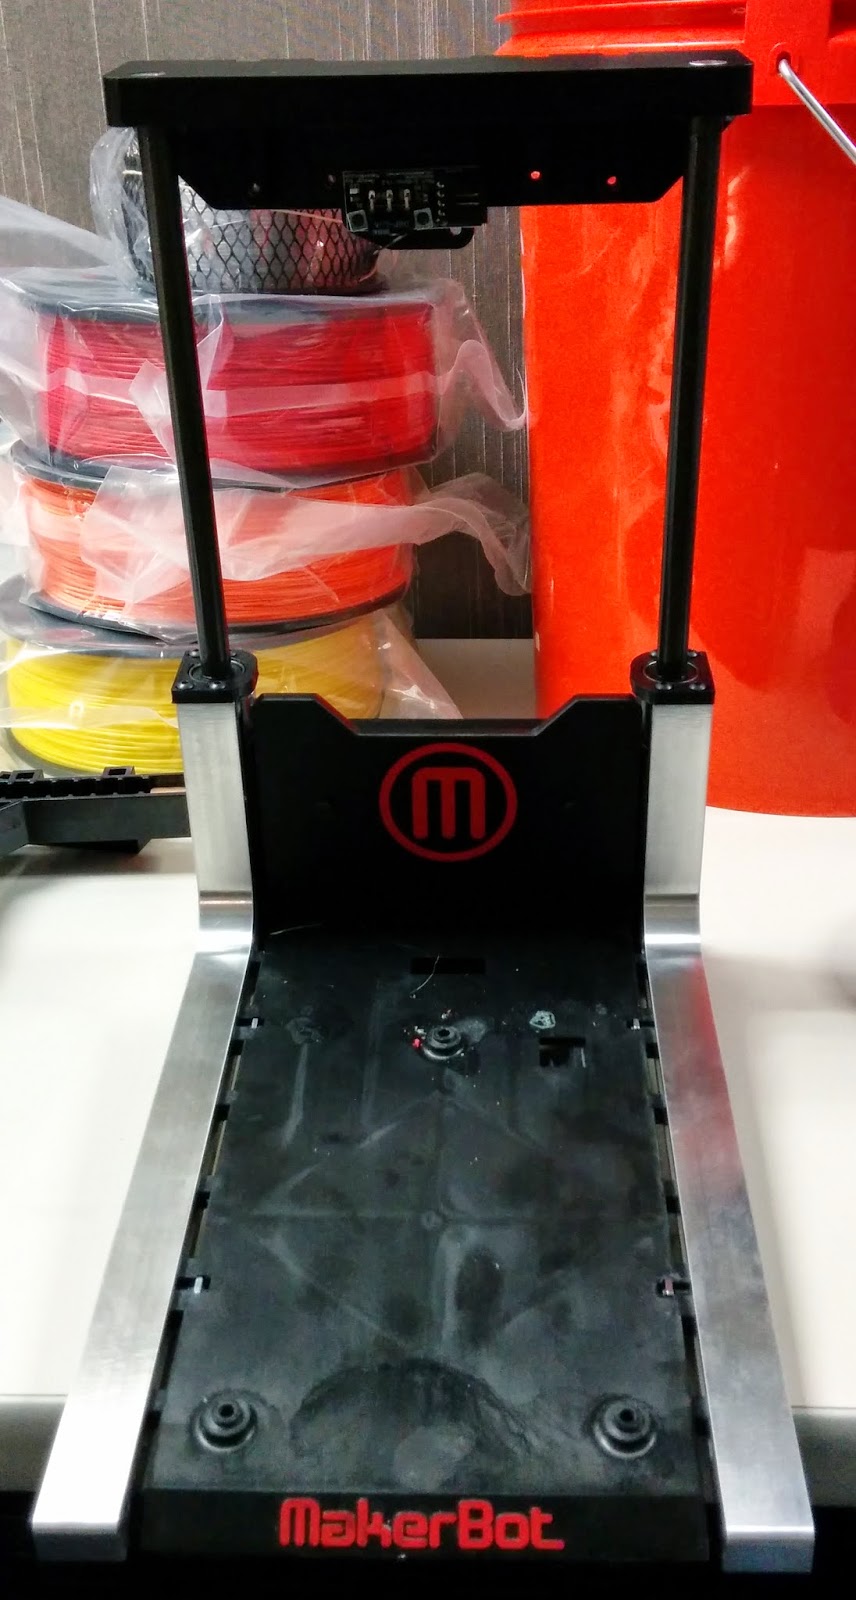
| Glass in place, powered up & ready |
I only have a couple of prints on the new system. So far the glass bed seems like a great upgrade. Parts easily pop off the glass after it cools, and for rapid printing two glass beds can be exchanged between prints. It's more difficult to tell if the aluminum arms are worthwhile- only time will tell.